Aspect ratio1920×1080this is how it downloads
Preview doesn't change the file
You'll download 1920×1080, 3.5 s, with no background (.mov).
BetaFree during the beta: create an account and export at no cost. No credit card.How it works →Free during the beta · no card →
You'll download 1920×1080, 3.5 s, with no background (.mov).
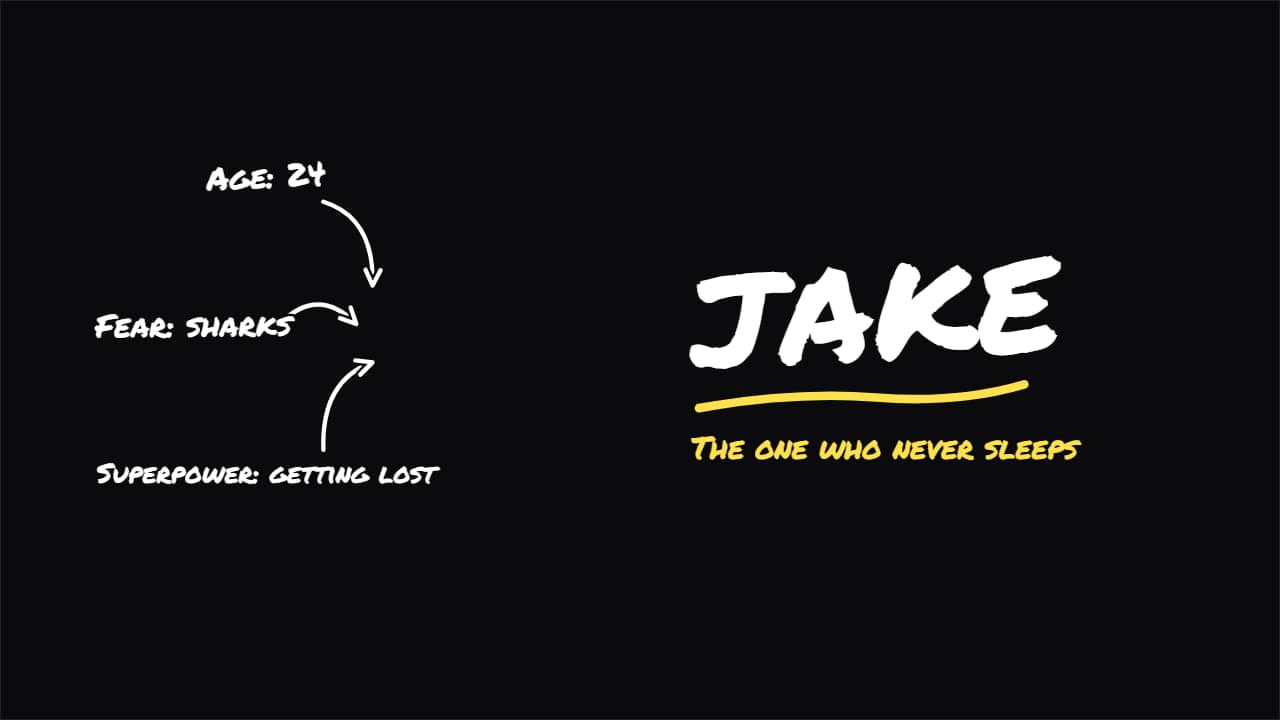
The «this is Jake» from travel and challenge vlogs: a flash, the name SLAMS in big with its underline, the nickname below, and their tags pop up around the person with hand-drawn arrows («Age: 24», «Fear: sharks»). Tell it where the person is in the frame (in %) and the name goes on the other side. Freeze the frame in your editor for the full effect. Optional polaroid-style photo. Three styles: marker, paper cutout and clean.
Plus the typeface and an optional letter outline, in every template.
Export it without background and put it on a track above your clip: the animation plays over your video.
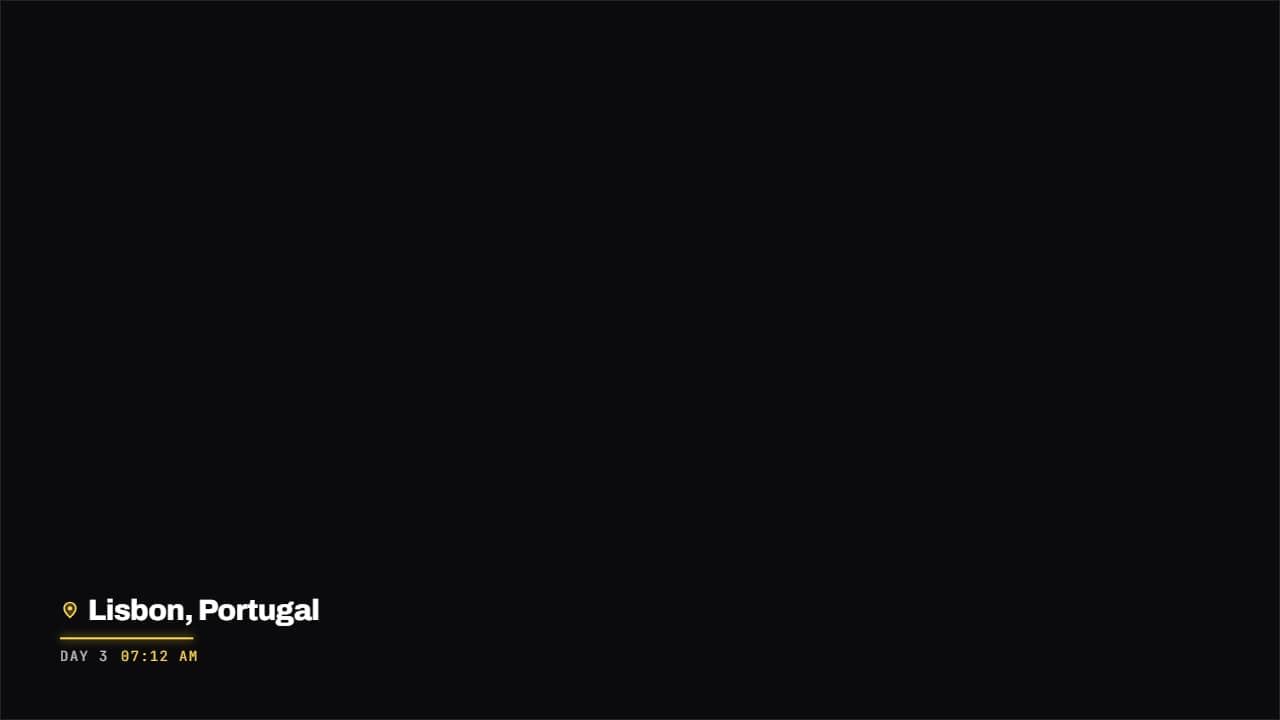 Place and date stampA map pin, the name of the place and the date underneath in monospace, with a colored rule drawing itself.
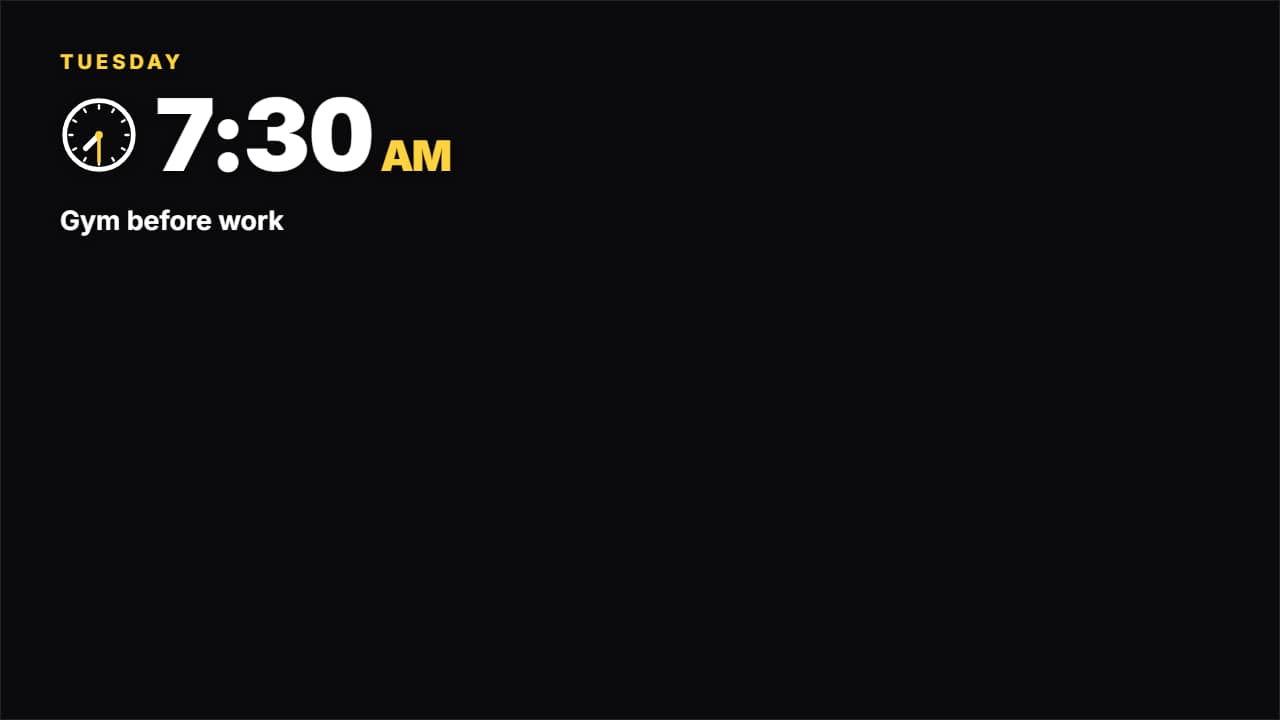 Time of day stamp (day in my life)The stamp from «day in my life» videos: the weekday, a clock whose hands spin to the time, «7:30» with the…
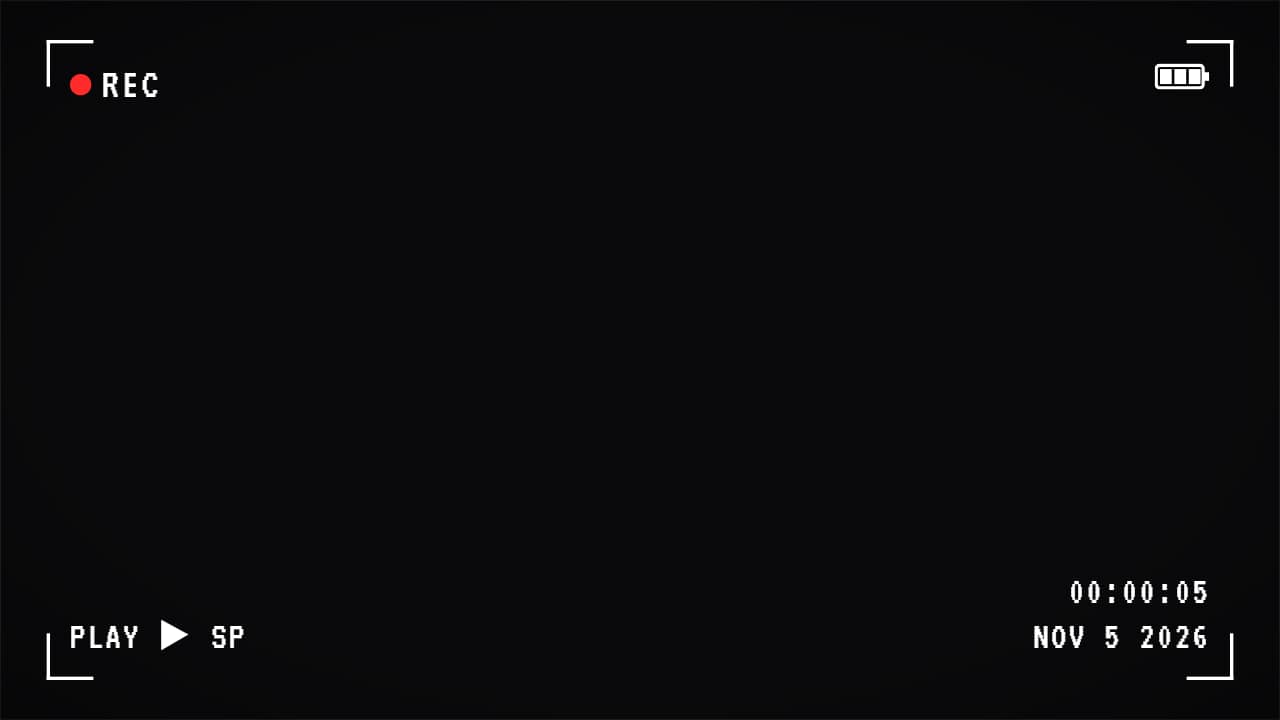 Camcorder REC overlayA camcorder screen over your video: blinking «● REC», a timecode that really runs, the battery, the…
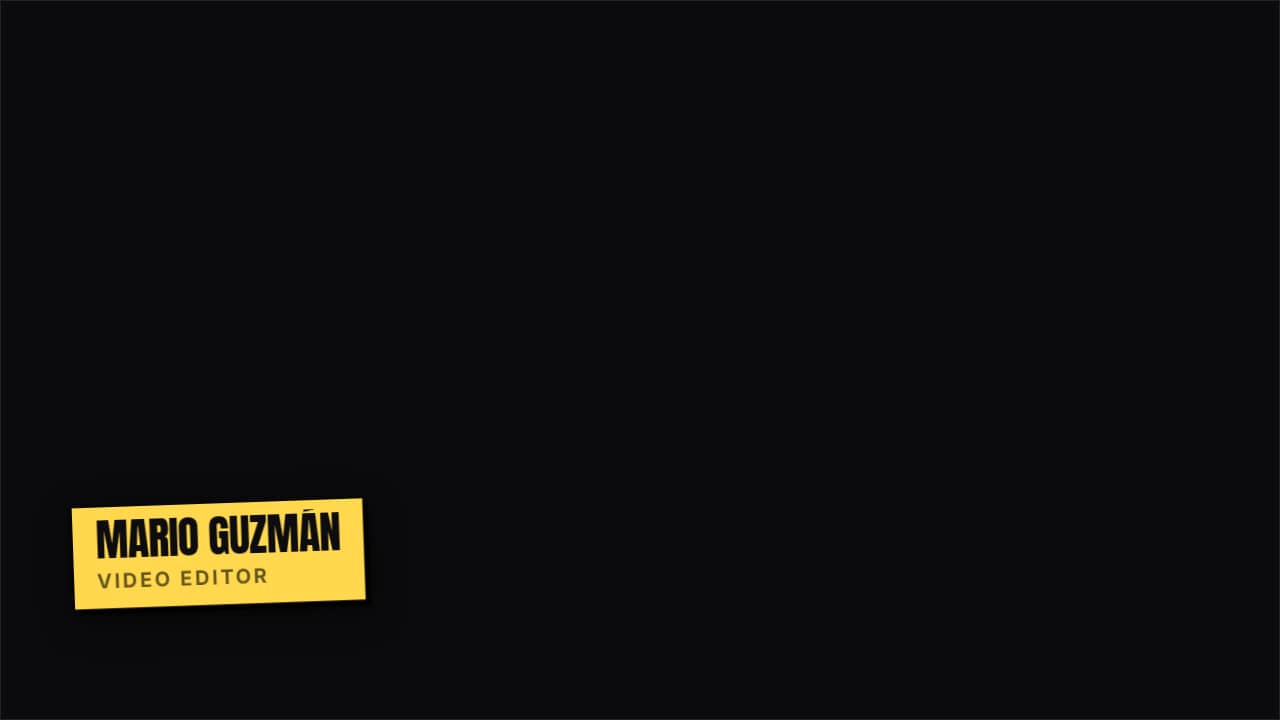 Lower third · StickerA tilted flat-color sticker with a hard shadow. Fun, for vlogs and fast content.
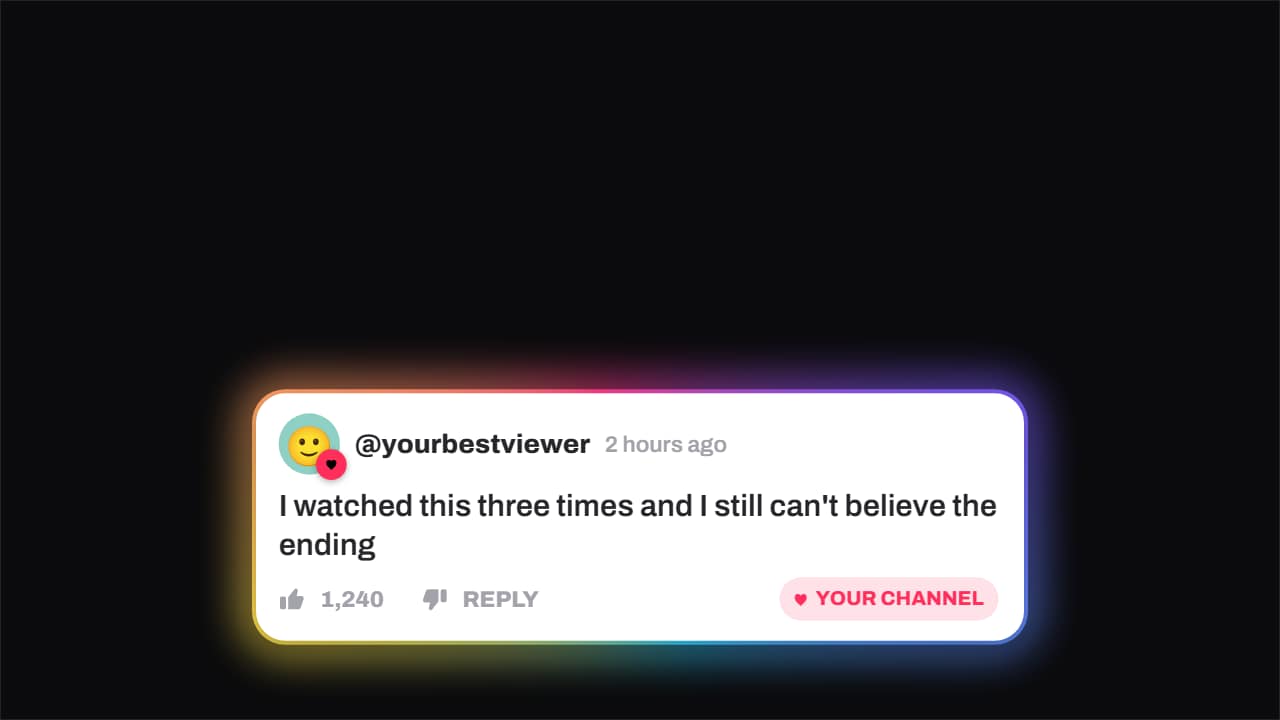 Comment · hearted by the channelA viewer's comment — avatar, timestamp, like count — and the moment the channel hearts it: the badge pops…
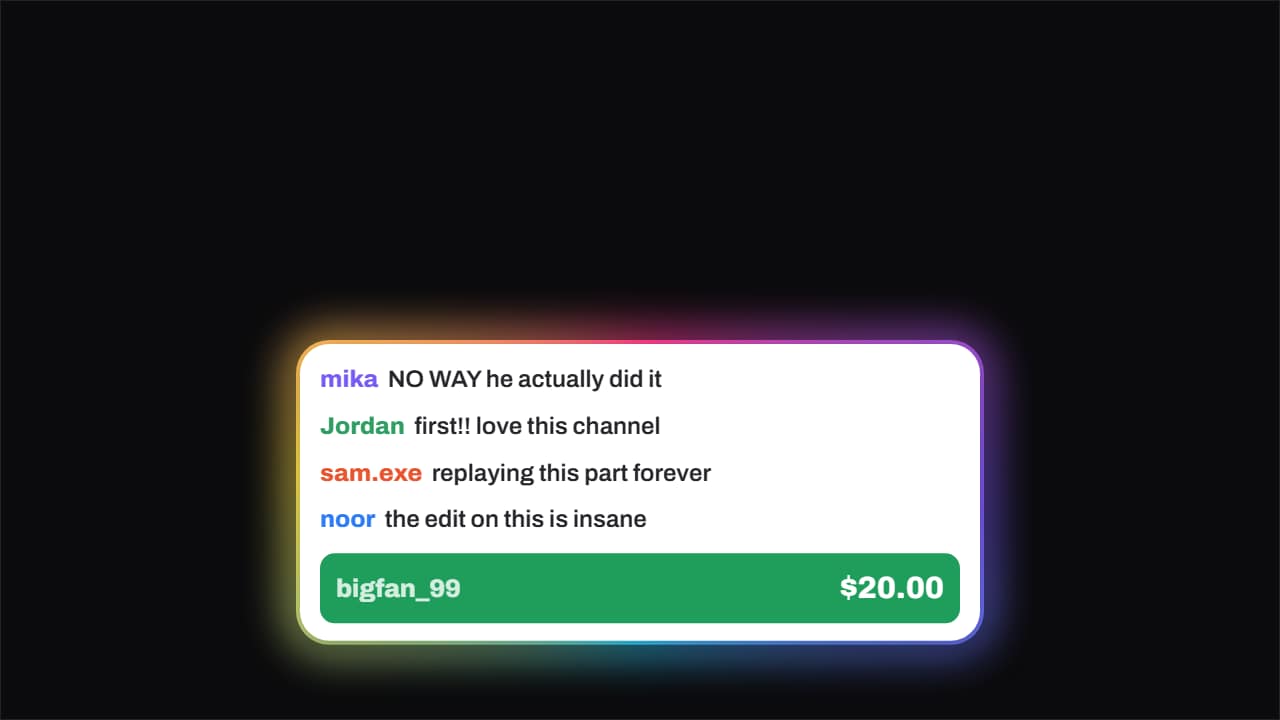 Live chat · with a donationChat messages slide in one after another from the left and, once there is a rhythm, the paid message drops…
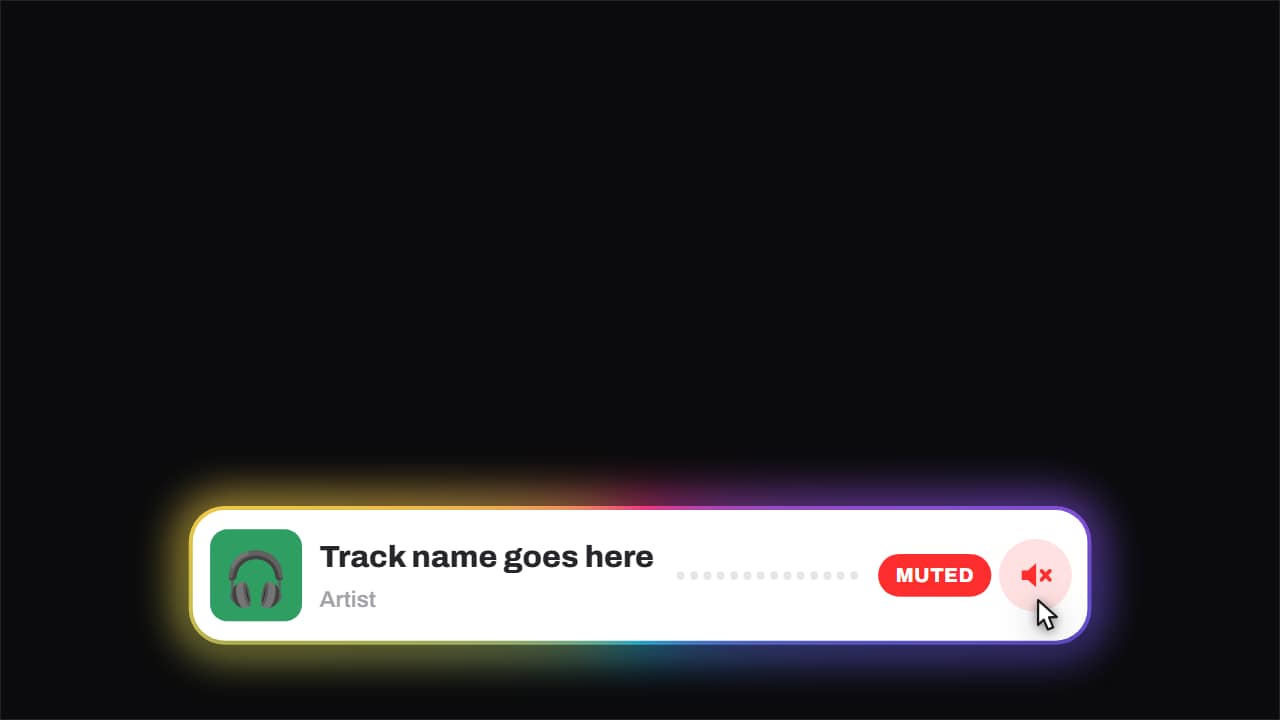 Now playing · and it gets mutedCover, track, artist and an equaliser that genuinely moves — three offset sines, so it looks like sound and…
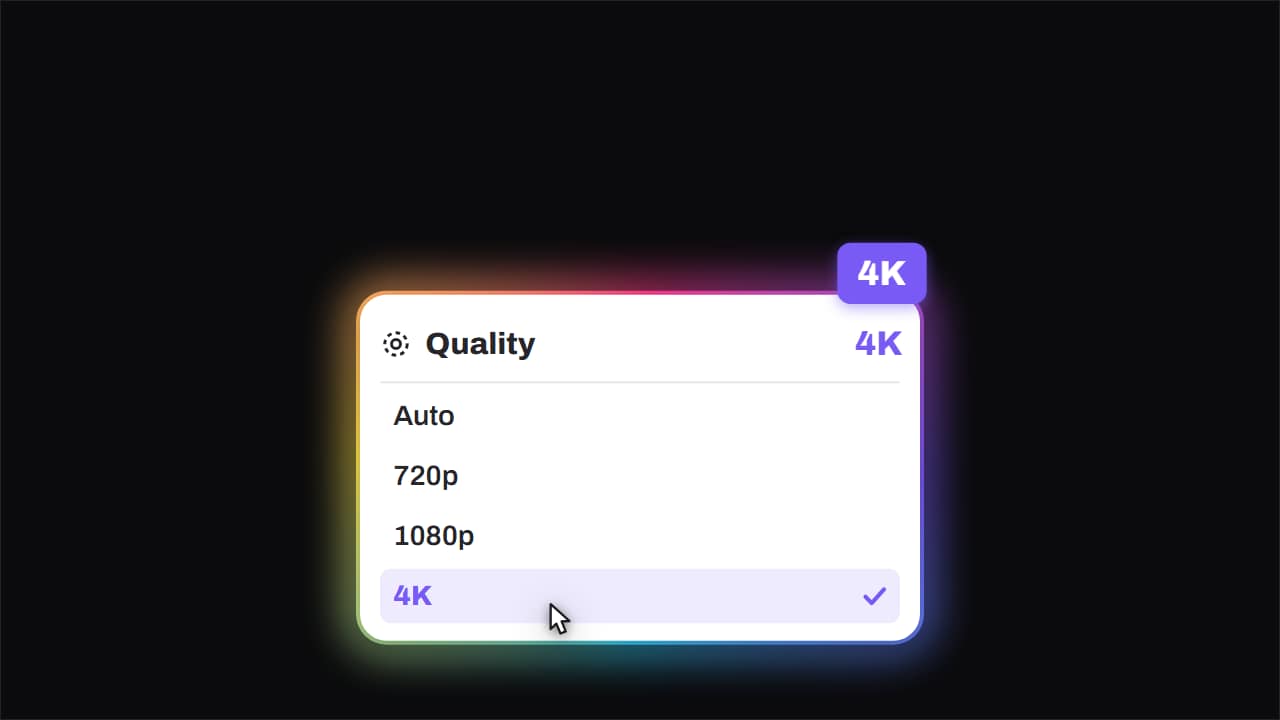 Quality · bumped to 4KThe quality menu opens, the cursor comes down, and the big badge lands rotated in the corner.