Lower Third Templates for Premiere Pro — No MOGRT, No After Effects
Premiere's Essential Graphics lower thirds are editable, but you style them inside Premiere and most good ones are .mogrt files built in After Effects. These go the other way: you type the name and the role in the browser, choose the style, the side and the color, and export a ProRes 4444 .mov with a transparent background. In Premiere it behaves like any clip on V2.
That makes them quick to drop into a long interview and impossible to break by accident, because there are no live text layers to reflow when the project changes.
 Lower third · BarA dark panel with an accent bar unfolding, name and job title. The classic interview strap, done properly.
 Lower third · PillA translucent rounded pill with the initial in a colored circle. Modern, works well on social.
 Lower third · HairlineNo box: a colored rule drawing itself and the text rising. Documentary and clean.
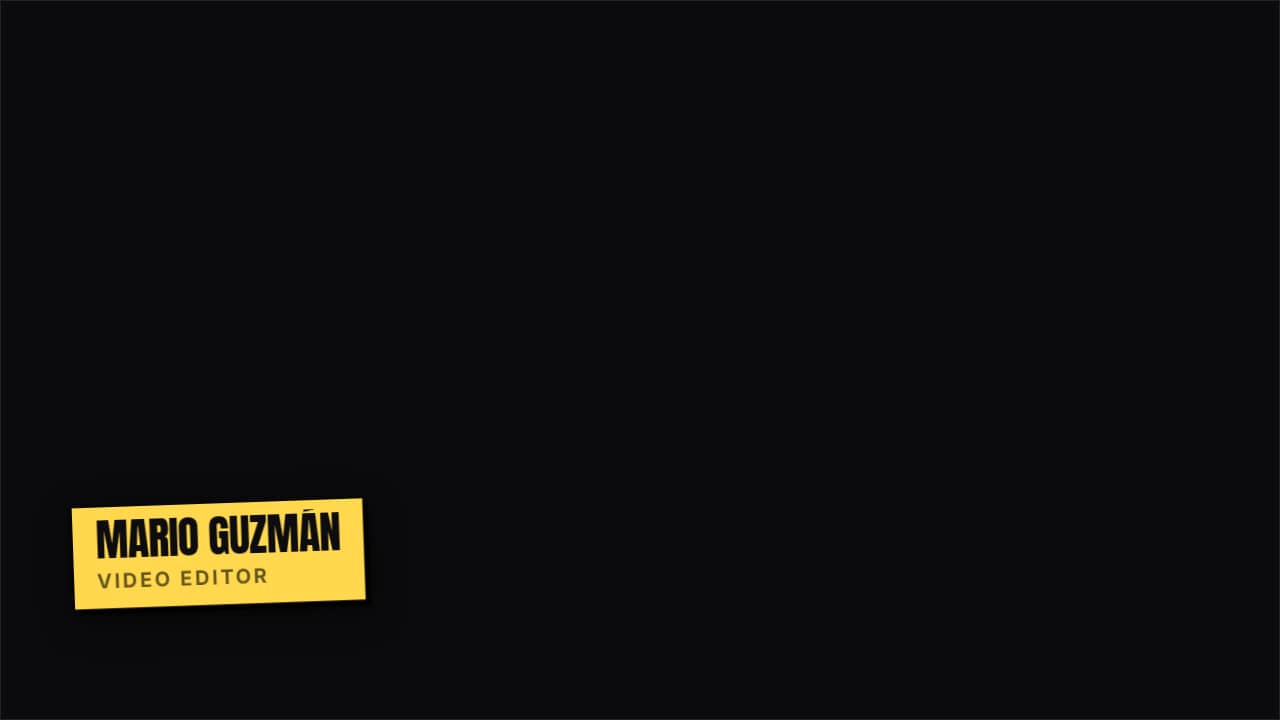 Lower third · StickerA tilted flat-color sticker with a hard shadow. Fun, for vlogs and fast content.
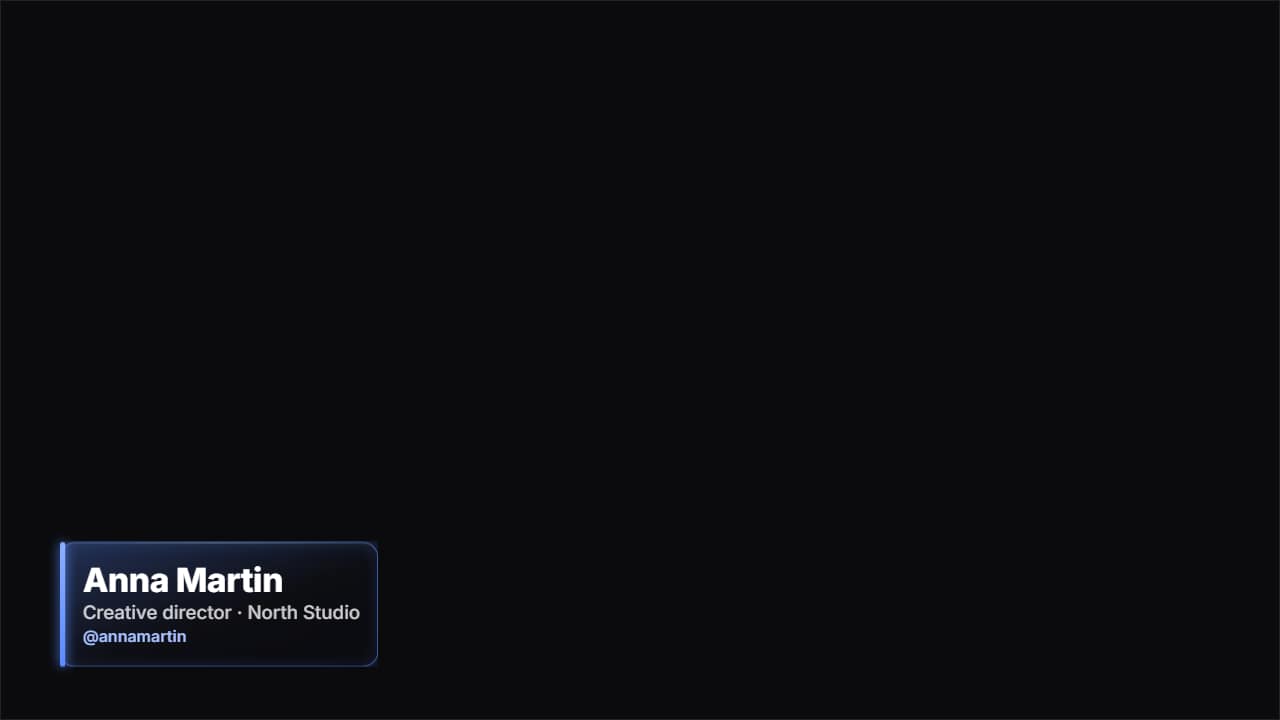 Glass name lower thirdThe «who's talking» strap in glass: name, role and your handle.
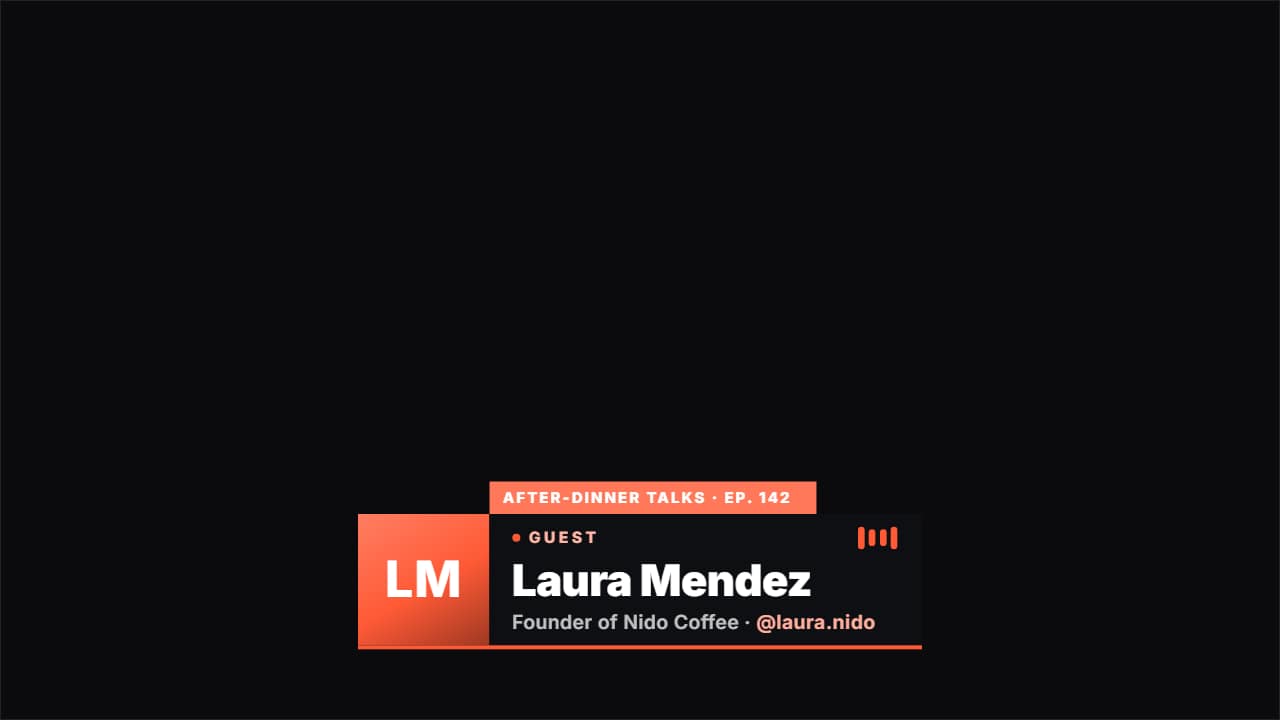 Podcast guest lower thirdIntroduces whoever is on the show: their photo, their name, what they do and their @, with a «GUEST» badge…
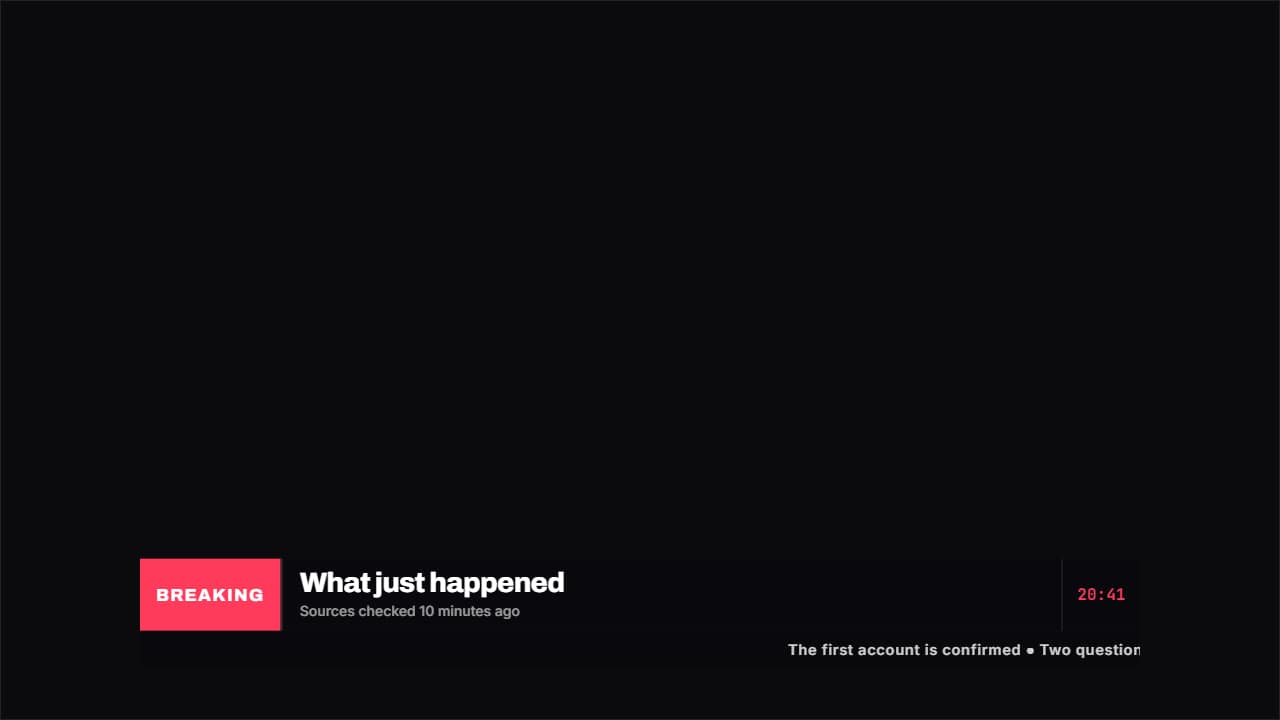 Breaking news with tickerThe news bar: a colored block with the label, a big headline, the time to one side and a ticker of headlines…
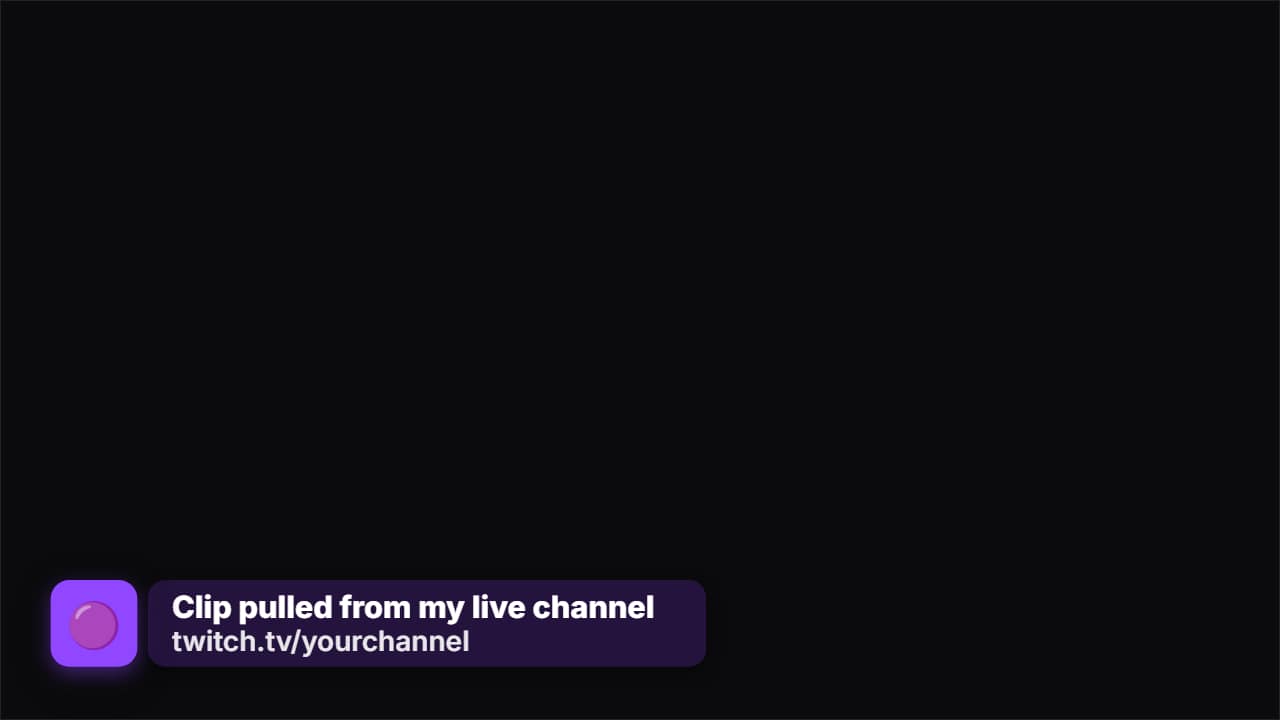 Source creditThe strap that says where the clip came from. First only the badge with the logo appears, it waits a beat…
How to add it in Premiere Pro
1. Make one per speaker
Open a template below, type the name and the role, set the side and the distance from the bottom, and export without background. Repeat for every person on camera.
2. Import the files
File → Import (Ctrl+I on Windows, Cmd+I on Mac) and select the .mov files.
3. Put it on V2
Drag the strap onto V2, above your footage on V1, starting a beat after the person begins speaking. The transparent background is kept.
4. Duplicate it
Hold Alt (Option on Mac) and drag the clip along the timeline to copy it to the person's next appearance.
5. Adjust if needed
In Effect Controls, Motion → Position and Scale move or resize it. For the sharpest result at larger sizes, export at 2× (4K) in the first place.
If a strap ever shows a black box, right-click the clip in the Project panel, open Modify → Interpret Footage and check that «Ignore Alpha Channel» is off. In a 4K sequence, either export the strap at 2× or set it to scale to frame size, so the text stays crisp.
Questions
- Is this a .mogrt?
- No. It's a ProRes 4444 .mov with an alpha channel. You set the text and style before exporting, and Premiere plays it like any other clip, so it works in any version without the Essential Graphics panel.
- Can I change the name later?
- Open the template again in the browser, change the name and export a new file. It takes less time than retyping a title layer, and every strap stays identical.
- Do I need After Effects?
- No. Every template is edited in your browser: type your text, choose colors and format (16:9, 9:16 or 1:1), watch the live preview and export.
- What do I export, and does it work in my editor?
- Most templates export as a ProRes 4444 .mov with a transparent background, which you place on a track above your clip in CapCut, Premiere Pro, DaVinci Resolve or Final Cut Pro. You can also export an MP4 with your own clip behind it. Always in Full HD.
- Is it free?
- Editing and previewing are free and need no account. To export you sign in with Google; during the open beta, new accounts get export credits at no cost.