How to use transparent overlays instead of green screen (CapCut, Premiere, DaVinci)
5 min · 5 steps
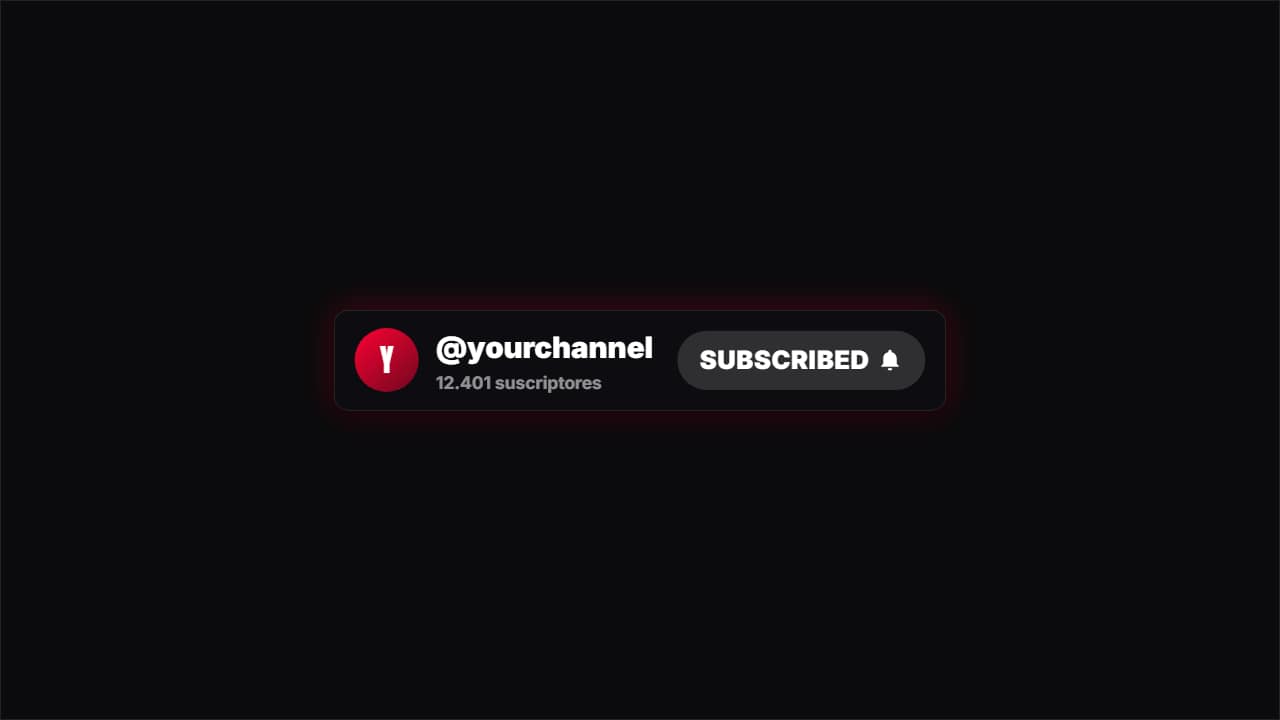 Animated Subscribe Button — Click to SubscribedTry it now — free →
Search for a free subscribe button or an animated arrow and most of what you find is a green screen clip: the animation on a bright green background that you have to remove yourself. It works, more or less. Then you notice the green fringe around the edges, the shadow that disappeared and the glow that turned into a hard outline.
A transparent overlay skips all of that. The file already carries the information about which pixels are see-through, so it sits on top of your video the moment you drop it on a track. This guide explains the difference, how to import one in the four big editors and what to do when it shows up with a black background.
The short answer
Use a video with an alpha channel, usually a ProRes 4444 .mov, instead of a green screen clip. Put it on a track above your footage in CapCut on desktop, Premiere Pro, DaVinci Resolve or Final Cut Pro and the transparency just works. If you see black instead of your video, tell the editor to use the alpha channel; on a phone that can't read it, burn the overlay onto your clip as an MP4.
Try it now: Animated Subscribe Button — Click to Subscribed
Editing and the live preview are free and need no account.
What you need
- A video editor on a computer: CapCut, Premiere Pro, DaVinci Resolve or Final Cut Pro (or CapCut on the phone, with the workaround below).
- An overlay exported with transparency. Every AnimateMyVideo template exports one: choose «No background».
The templates in this guide
- SubscribeA channel card with a red button a cursor presses, turning to "SUBSCRIBED" with the bell.
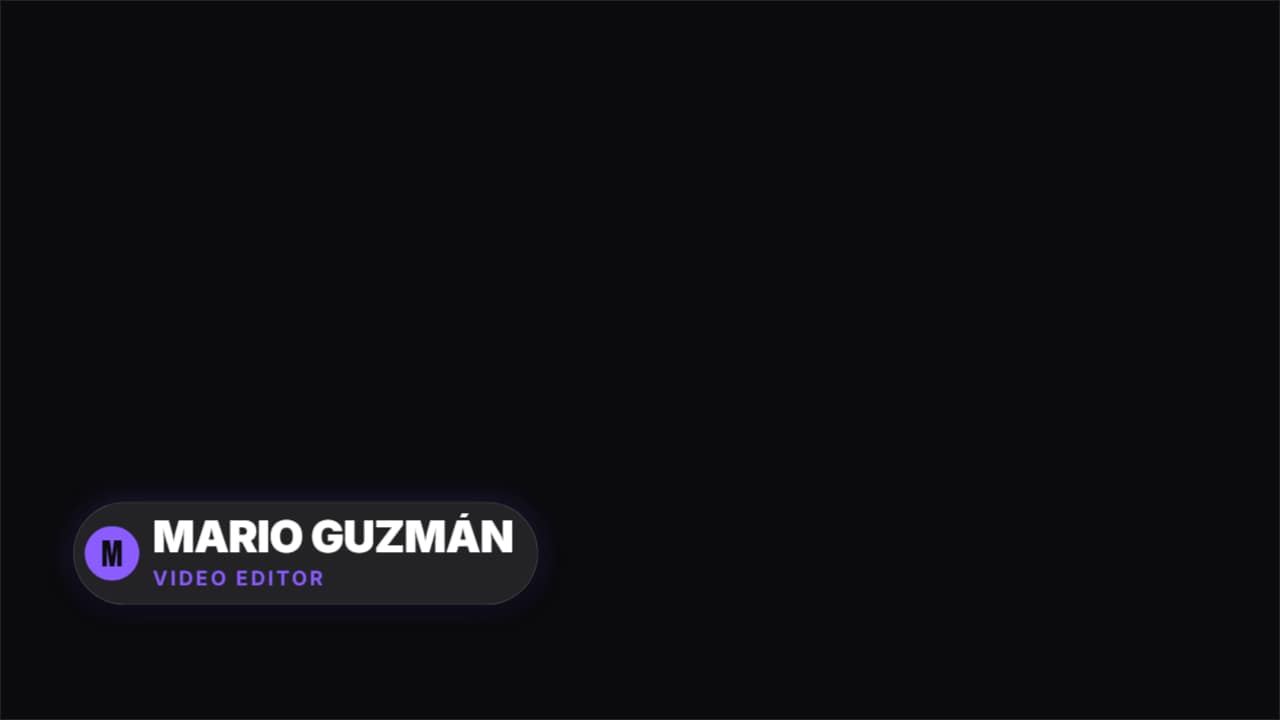 Lower third · PillA translucent rounded pill with the initial in a colored circle. Modern, works well on social.
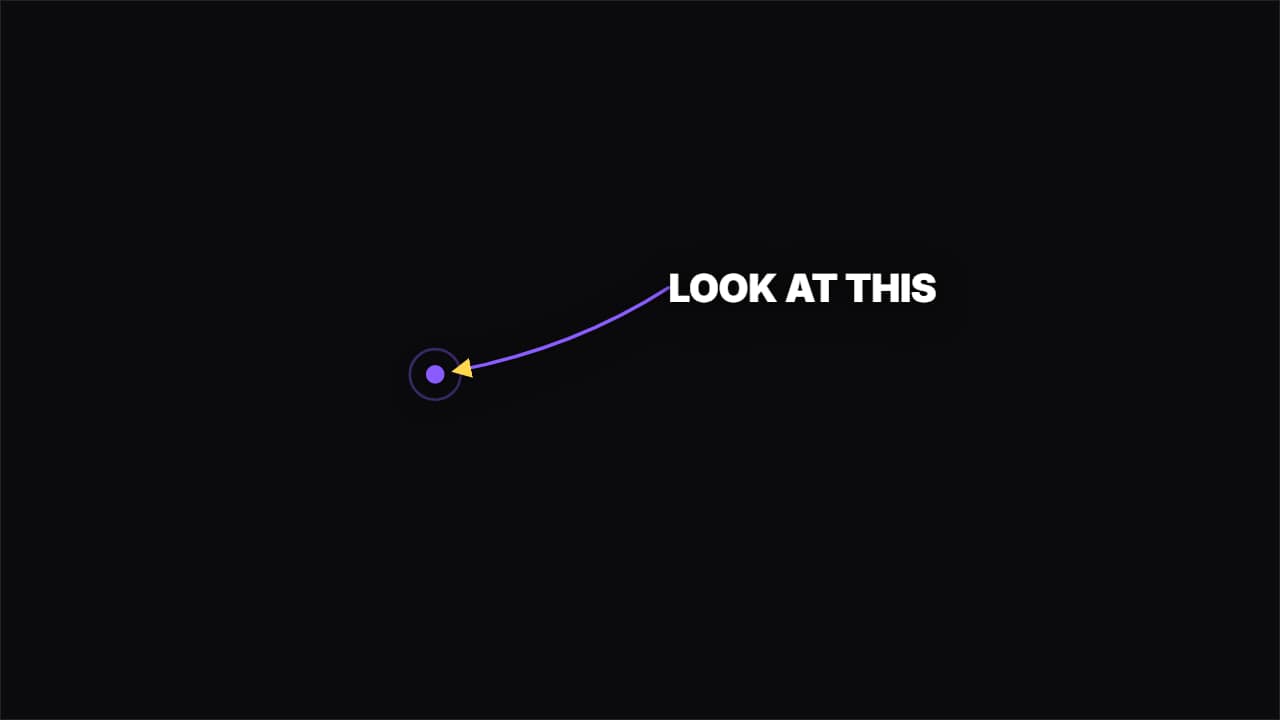 Curved arrowAn arrow drawing itself in a curve from the label to the spot. Directs the eye without covering the shot.
Step by step
Step 1: Understand what you're replacing
Green screen and transparency solve the same problem in very different ways:
- Green screen: a normal video on a green background. Your editor guesses which pixels are «green enough» and removes them. Soft edges, shadows, glows and anything green in the design get damaged.
- Transparent (alpha): a video with a fourth channel that says exactly how see-through each pixel is. Nothing is guessed, so soft shadows and half-transparent glass stay as they were designed.
Step 2: Get the overlay with a real alpha channel
The usual format is a QuickTime .mov in ProRes 4444, the codec editors use for graphics with transparency. In any AnimateMyVideo template, write your text, then in «Format & background» choose «No background»: the file you download is a ProRes 4444 .mov, in Full HD, in 16:9, 9:16 or 1:1.
These files are bigger than an MP4, often 15 to 40 MB for a few seconds, because they keep the transparency at full quality. That's normal.
Step 3: Put it on a track above your video
In every editor the idea is the same: your footage on the bottom track, the overlay on the track above it.
- CapCut (desktop): import the .mov and drag it to a track above your main clip.
- Premiere Pro: File → Import, then drag the .mov to V2, above your footage on V1.
- DaVinci Resolve: import it into the Media Pool and place it on Video 2, above your clip.
- Final Cut Pro: import it and connect it above your primary storyline.
Step 4: If you see black, switch the alpha on
A black box around the overlay means the editor is ignoring the transparency. It's a setting, not a broken file:
- DaVinci Resolve: right-click the clip → Clip Attributes → Alpha Mode: Premultiplied.
- Premiere Pro: right-click the clip in the Project panel → Modify → Interpret Footage, and make sure the alpha channel isn't set to be ignored.
- CapCut on a phone: many phones can't read ProRes transparency at all. Upload your clip in the template («On my video») and export an MP4 with the overlay already on top.
Step 5: Position, trim and time it
Once it's transparent, an overlay behaves like any clip: move it, scale it, trim the end so it leaves before your next cut. Line up its key moment (the click on Subscribe, the zero of a countdown, the moment a name appears) with the moment in your video it belongs to.
Downloading from AnimateMyVideo asks you to sign in with Google; during the open beta, new accounts get export credits at no cost.
When green screen is still fine
If a clip only exists in green screen, or your app has no way to read transparency, a chroma key still does the job: CapCut, Premiere, DaVinci and Final Cut all have one. Keep it for flat, hard-edged graphics with no green in them, and expect to tweak the edges. For anything with shadows, glows, glass or thin lines, transparency wins every time.
How to check that a file is really transparent
Drop it over a bright, busy clip. If you can see the clip through every part that should be empty, it's transparent. If a rectangle appears, black or any other color, the file either has no alpha channel or your editor is ignoring it; try the step above. In the AnimateMyVideo preview, the checkerboard pattern marks the parts that will be transparent in the file.
Questions
- What file format keeps transparency?
- The most widely supported one for editing is a .mov in ProRes 4444. Plain MP4 files (H.264) can't carry transparency, which is why green screen versions exist.
- Why is my overlay showing a black background?
- The editor is ignoring the alpha channel. In DaVinci Resolve set Alpha Mode to Premultiplied in Clip Attributes; in Premiere Pro check Interpret Footage; on a phone that can't read ProRes, export the overlay on top of your clip as an MP4.
- Does CapCut support transparent overlays?
- CapCut on desktop reads a ProRes 4444 .mov with its transparency. On the phone it depends on the device, and many show a black background, so the reliable option there is an MP4 with the overlay already on your clip.
- Are the files huge?
- Bigger than an MP4: a few seconds of ProRes 4444 is often 15 to 40 MB. They're meant for editing; your final exported video will be its normal size.
Try it now: Animated Subscribe Button — Click to Subscribed
Editing and the live preview are free and need no account.