How to make an animated travel map for your YouTube videos
10 min · 6 steps
The animated map, a line drawing itself from one city to the next while a little plane flies along it, is the fastest way to show viewers where you are going. Travel vloggers use it between scenes, history and geography channels use it to explain a route, and it works just as well for a road trip or a tour.
You can build one with Google Earth Studio or with After Effects plugins, but both take a while to learn. This guide makes one in the browser from a list of stops, then shows how to cut it into your video.
The short answer
Write your stops in order, type them into the free animated map route maker, pick a vehicle (plane, car, train, ship or on foot) and a map style, then open it in the editor to set the title, colors and format. Export a Full HD MP4 to drop between scenes, or a transparent .mov to lay over your footage.
Try it now: Animated map route maker (free)
Type your stops and watch a plane, a car and a little traveler draw your route on the map.
What you need
- The places on your route, in the order you visit them.
- An AnimateMyVideo account to download the video (you sign in with Google).
- CapCut, Premiere Pro, DaVinci Resolve or any other editor.
The templates in this guide
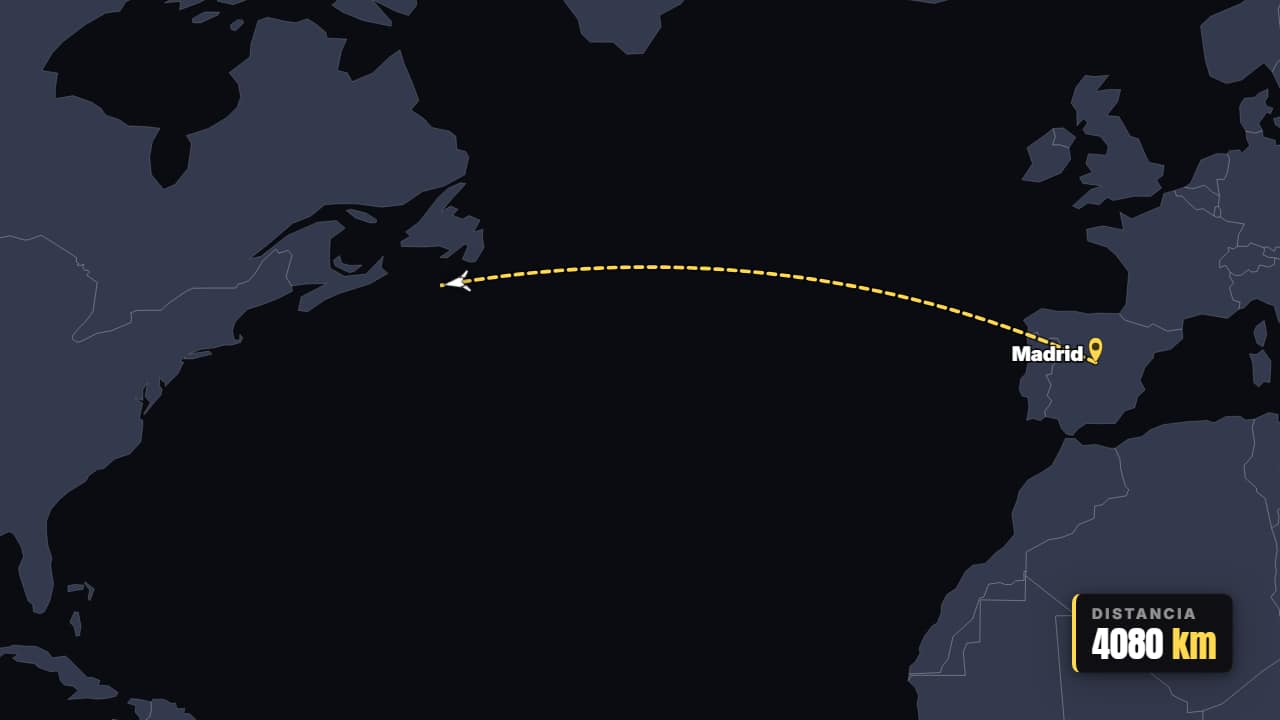 Flight A → BThe plane takes off and traces the real great-circle route between two cities, with the pins dropping and…
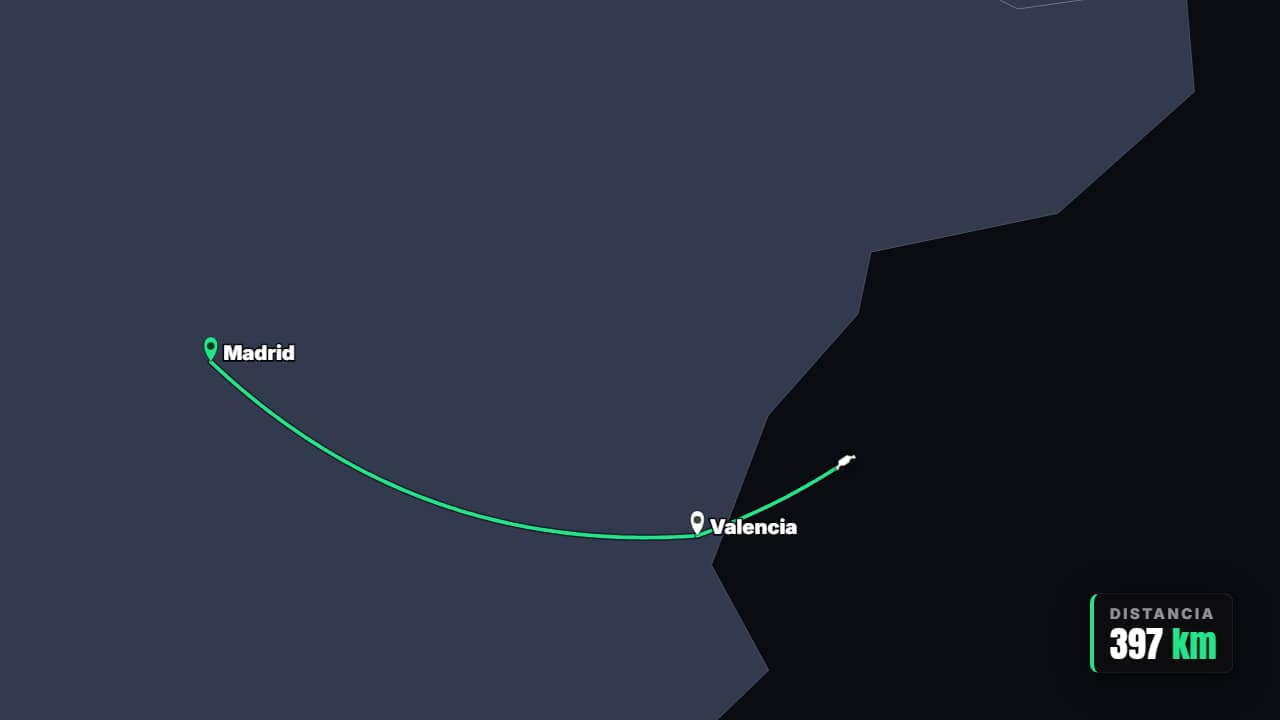 Multi-stop itineraryRoad trip or tour: the route advances leg by leg through every stop and the counter adds up the total…
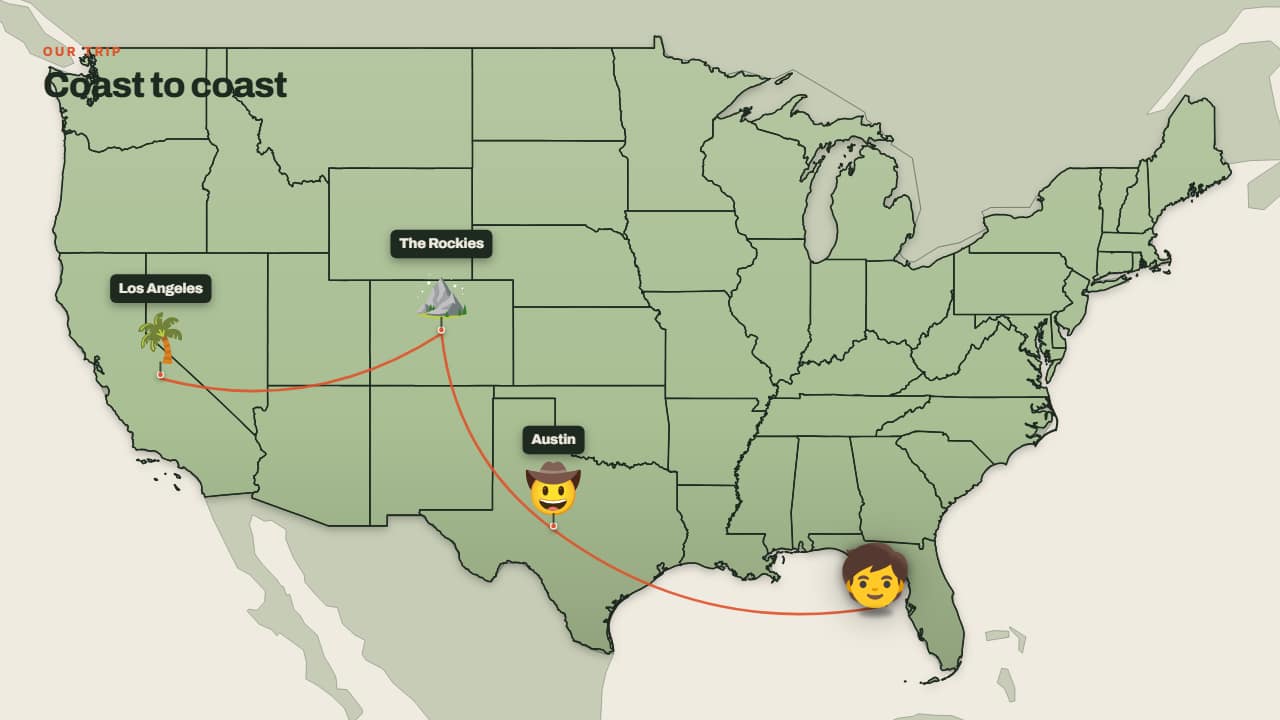 Trip across the mapThe little face walks from one stop to the next, with its hop, its shadow on the ground and the trail…
Step by step
Step 1: Plan the route
Write the stops in the order you travel them, from where you start to where you end. Cities, countries and US states are found by name, in English or Spanish. For a small town or a national park, use its coordinates as latitude,longitude (for example 36.10,-112.11, near the Grand Canyon); you can copy them from any online map.
Step 2: Type the stops into the map route maker
Open the free animated map route maker and enter up to six stops. If a place can't be found, the tool tells you which one instead of skipping it quietly. Then choose how you travel: plane, car, train, ship or on foot.
Step 3: Pick a map style
Four templates play with your route: a flight where the plane traces the real great-circle path, a multi-stop road trip that advances leg by leg, a little traveler hopping from pin to pin across the region, and a map that fills up with pins. A flight suits a long-haul jump, the itinerary a road trip, and the pins a recap of everywhere you went.
Step 4: Customize it in the editor
Click «Customize & export». The editor opens with your stops already in it. Add a title, pick the format (16:9 for YouTube, 9:16 for Shorts) and change the colors.
The route templates also let you choose the map projection (a flat world map, Mercator or a globe) and whether the line follows the real curve or a smooth infographic arc. Their distance counter shows miles or kilometers (pick the unit in the editor; it starts in miles in English), and you can switch it off.
Step 5: Choose how to export it
Pick how you want the file, then click Export and sign in with Google to download. During the open beta, new accounts get export credits at no cost.
- With a background: a full-screen MP4 to cut to between scenes. The most common choice in travel vlogs.
- No background: a transparent .mov (ProRes 4444), to place the map over your footage like a mini map.
- On my video: upload a clip and get the map already on it, as an MP4.
Step 6: Cut it into your video
Put the map right before the first shot in the new place, not after it: the map sets up the arrival. Three to six seconds is enough, so trim the end if the route finishes early. A whoosh or a plane sound under the line sells the movement.
- CapCut: Drop the MP4 between your clips on the main track. A transparent .mov goes on a track above your video on desktop, or through Overlay → Add overlay on the phone.
- Premiere Pro: Drag it into your sequence between two clips, or onto V2 above your footage if it's transparent.
- DaVinci Resolve: Drag it to the timeline. If a transparent .mov shows black, right-click it and set Clip Attributes → Alpha Mode to Premultiplied.
Where an animated map works best
At the start of a trip video, to show the whole plan in one shot. Between days or countries, as a chapter break. In a recap, with every place you visited as a pin. And in history or explainer videos, where the route is the story: a trade route, an expedition, a migration.
When another tool is the better choice
These maps are clean, illustrated vector maps: they read well on a phone and match the style of the rest of the library. If you want photorealistic 3D satellite terrain with the camera flying over mountains, Google Earth Studio is built for that, and After Effects with map plugins gives full control if you already use it. Both take longer to learn and to render.
Questions
- Can I make a travel map for YouTube Shorts?
- Yes. Choose 9:16 in the editor, and keep the title short and away from the bottom of the screen, where the app shows the caption.
- How many stops can the route have?
- Up to six in the free tool, from your starting point to your final destination. In the editor you can add more stops to the itinerary.
- Do I need Google Earth Studio or After Effects?
- No. The map is drawn in your browser and you get a regular video file that works in any editor.
- Is the animated map maker free?
- Typing your stops and watching the previews is free and needs no account. To download you sign in with Google; during the open beta, new accounts get export credits at no cost.
Try it now: Animated map route maker (free)
Type your stops and watch a plane, a car and a little traveler draw your route on the map.