How to make an animated YouTube end screen (template + YouTube Studio)
10 min · 7 steps
An end screen is your last chance to keep a viewer on your channel. YouTube supplies the clickable part, the boxes that open another video, a playlist or your channel, but what sits behind them is up to you. Leave it to chance and the boxes float over a frozen last shot.
This guide builds the background properly: an animated end screen with your channel name and two frames shaped for YouTube's video elements, made in the browser and dropped at the end of your edit. Then it shows how to line the elements up in YouTube Studio.
The short answer
Open the end screen template, choose a style, type your title, video labels and channel name, and keep or extend the length (8 seconds by default, up to 20). Export it as an MP4 with its moving background or over your last clip, put it at the end of your video, and after uploading add an end screen in YouTube Studio with its elements placed over the two frames and the subscribe circle.
Try it now: YouTube End Screen Template — Transparent
Editing and the live preview are free and need no account.
What you need
- A video at least 25 seconds long (YouTube's minimum for end screens).
- Your channel name and avatar or logo, and the two videos or playlist you want to send people to.
- An AnimateMyVideo account to download the file (you sign in with Google), and access to YouTube Studio for your channel.
The templates in this guide
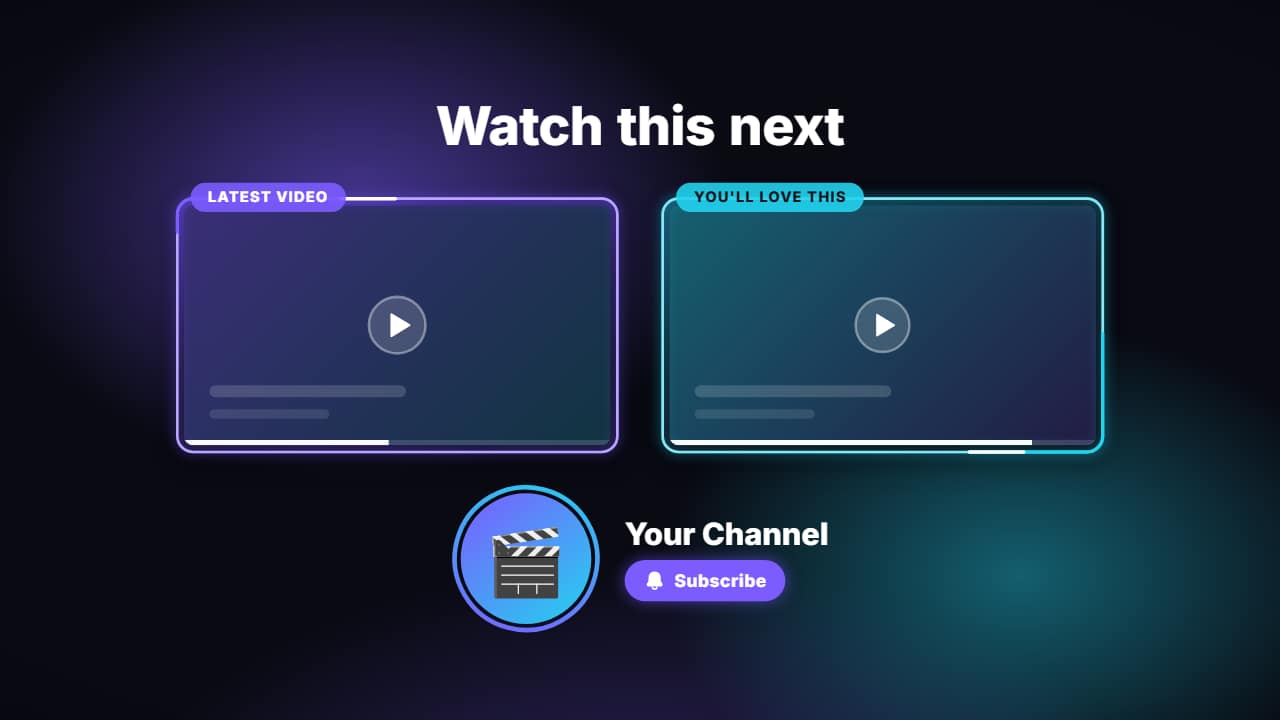 End screenThe last seconds of your video: a title («Watch this next»), two 16:9 slots where YouTube puts its…
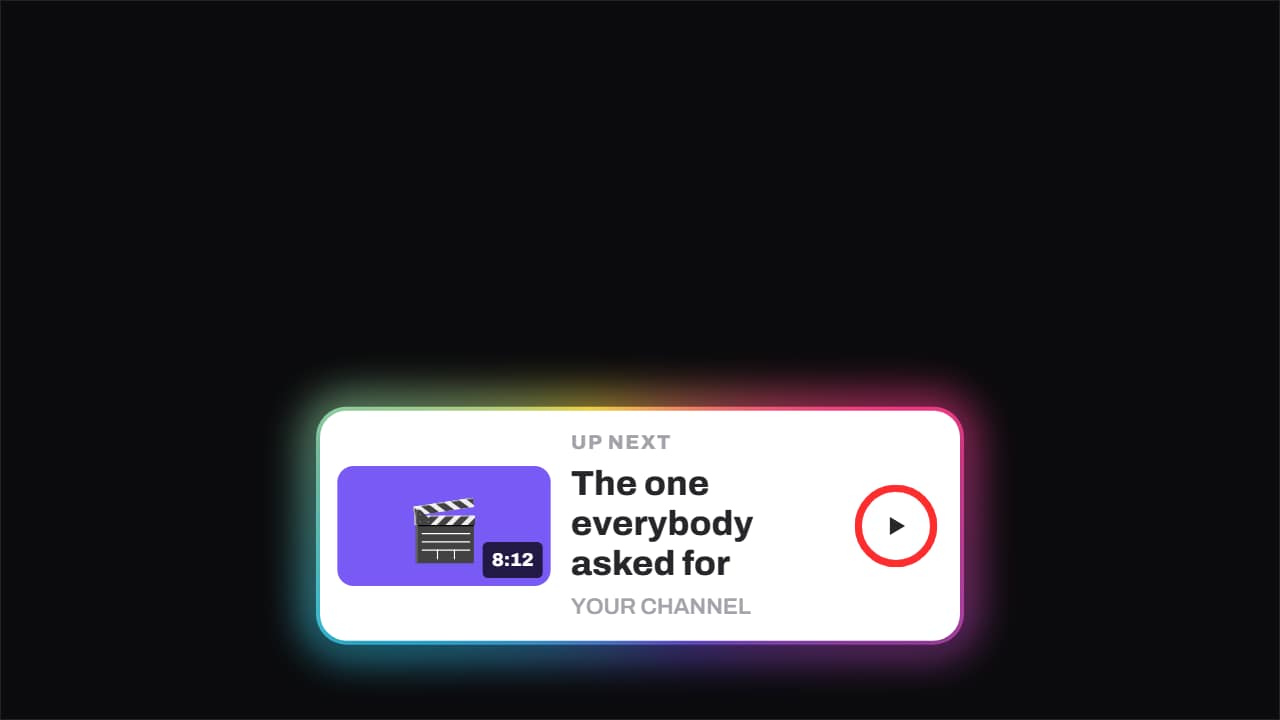 Up next · the ring runs outThe up-next card: thumbnail with its runtime, title, channel and a ring that fills until it fires on its own.
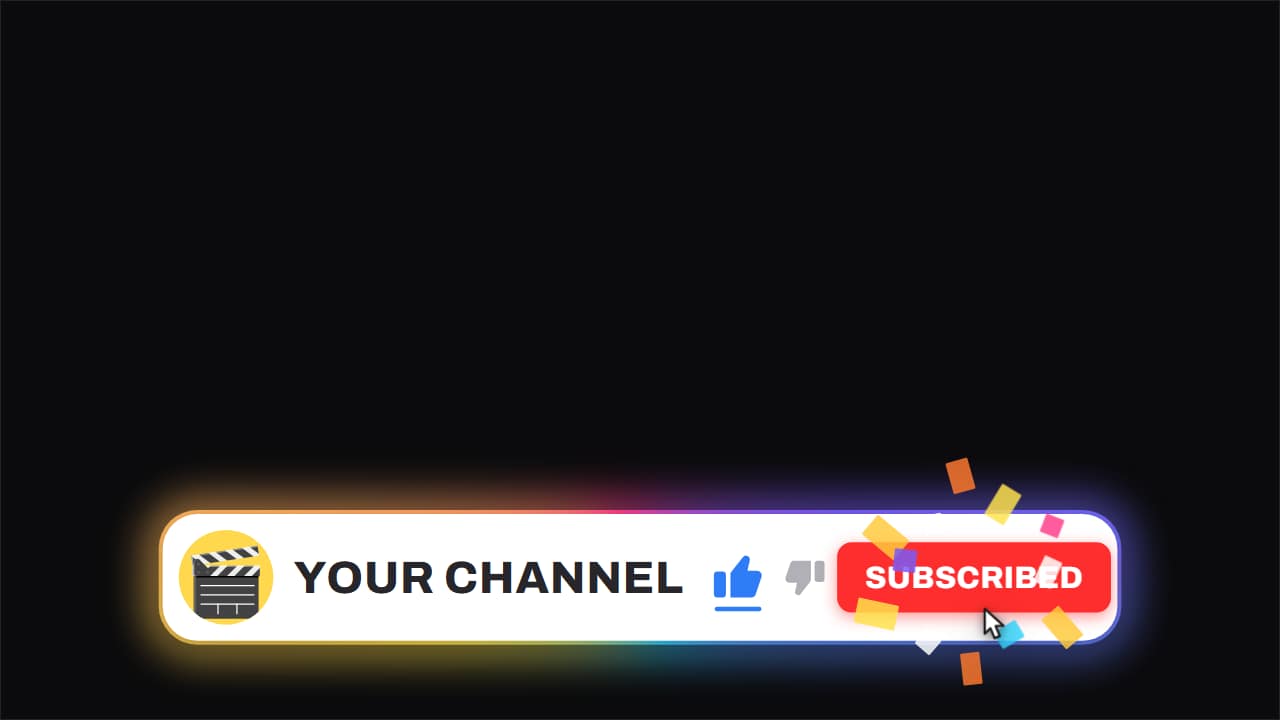 Channel bar · like and subscribeThe white capsule with the ROTATING gradient edge, floating over the video while it keeps running underneath.
Step by step
Step 1: Plan the last 20 seconds
YouTube shows end screen elements during the last 5 to 20 seconds of a video, and you can add up to four of them. Decide what they'll be before you design anything: usually one or two videos (or a playlist) and the subscribe button. Leave that stretch of your edit free of important footage, because the elements will cover part of it.
Step 2: Open the end screen template and pick a style
Open the end screen template. Choose one of the four styles, glass, neon, light minimal or pop, and the format of your video. In 16:9 the «Landscape layout» field puts the two video frames side by side or stacks them in a column on the right; in vertical and square they're always stacked.
Step 3: Write the title, the labels and your channel
Type the title («Watch this next» by default, or leave it empty), the small label above each video frame («Latest video», «You'll love this») and your channel name. In «Channel avatar», use an emoji or upload your logo, and set the subscribe text and your two colors.
If you won't use YouTube's video elements, upload the two thumbnails instead: they fill the frames and play as part of the video.
Step 4: Set the length
The template lasts 8 seconds. To fill the whole end screen window, raise «Duration (seconds)» up to 20; the frames keep their running light and the background keeps moving until the very end, so a long end screen doesn't look frozen.
Step 5: Choose the background and export
In the first step of the editor, choose how you want it:
- With a background: an MP4 with the style's own moving background. The simplest choice: it goes after your last shot.
- On my video: upload your last clip and the end screen comes out on top of it, as one MP4.
- No background: a transparent .mov to stack over your footage in your editor yourself.
Step 6: Put it at the end of your edit
Export and sign in with Google to download (during the open beta, new accounts get export credits at no cost). Place the file at the very end of your timeline in CapCut, Premiere Pro, DaVinci Resolve or Final Cut Pro, and export your video as usual.
Step 7: Add the elements in YouTube Studio
When you upload, the «Video elements» step lets you add an end screen; for a video that's already up, open it in YouTube Studio and find the end screen option in its editor. Add a video or playlist element for each frame and the subscribe element for the circle, then drag them over the frames and resize them until the edges line up.
Set each element's timing so it appears when the frames have finished drawing, about a second into the end screen. Play the end of the video in the preview to check nothing covers your face or your text.
What about YouTube's own end screen layouts?
YouTube Studio has ready-made element layouts you can drop onto any video, and they work. What they don't give you is a background: the elements sit over whatever your last shot is. The template supplies that background, matched to your channel, so the clickable boxes look like part of the design.
End screens on Shorts
Shorts don't have end screens. To send viewers on from a Short, YouTube lets you link a related video when you upload it, and inside the Short a «Part 2, follow for the next one» card does the asking. The like-and-subscribe bar, the up-next card and the comment prompt also work in vertical.
Questions
- How long should a YouTube end screen be?
- Between 5 and 20 seconds, which is the window YouTube allows for end screen elements. The template starts at 8 seconds and goes up to 20 with the duration field.
- Is the end screen video clickable?
- No video file is clickable by itself. The clicks come from the elements you add in YouTube Studio, placed over the frames of the template.
- Why don't my elements line up with the frames?
- Drag and resize them in YouTube Studio until they cover the frames. If you changed the layout in the editor (side by side or in a column), make sure you're lining them up with the version you uploaded.
- Is the end screen template free?
- Editing and the live preview are free and need no account. To download you sign in with Google; during the open beta, new accounts get export credits at no cost.
Try it now: YouTube End Screen Template — Transparent
Editing and the live preview are free and need no account.