Aspect ratio1920×1080this is how it downloads
Preview doesn't change the file
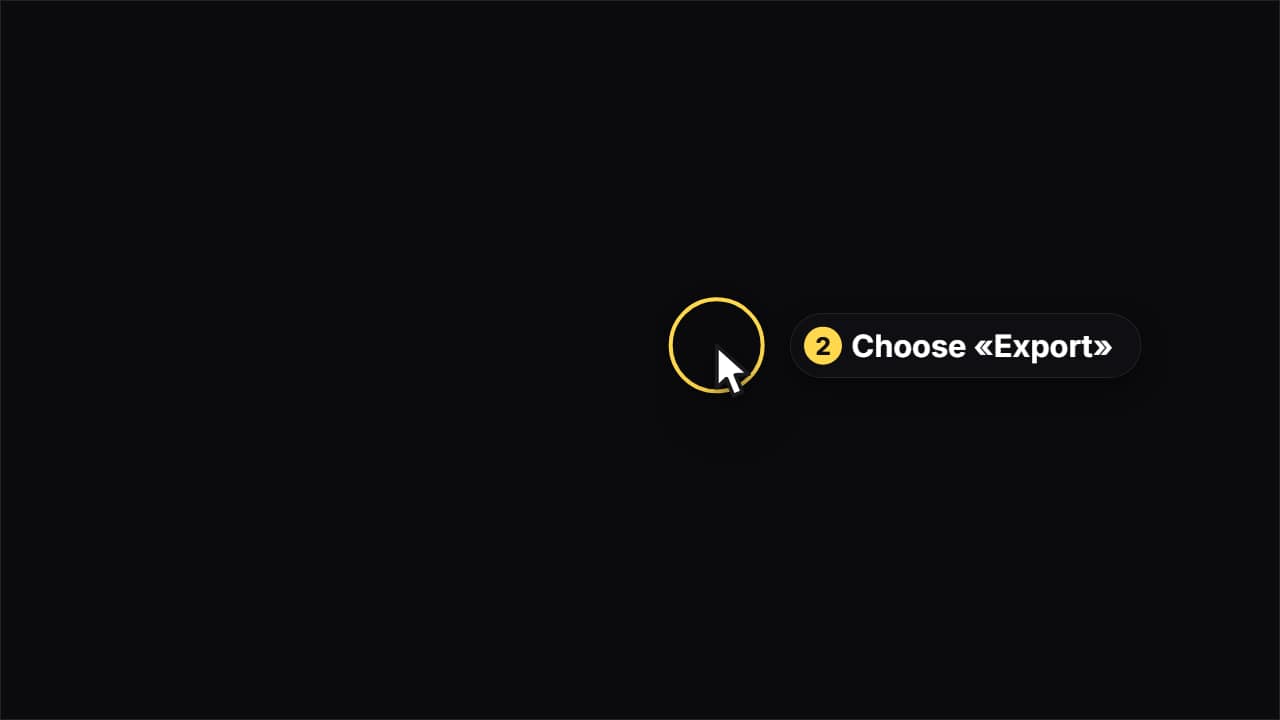
You'll download 1920×1080, 3.5 s, with no background (.mov).
BetaFree during the beta: create an account and export at no cost. No credit card.How it works →Free during the beta · no card →
You'll download 1920×1080, 3.5 s, with no background (.mov).
The tutorial cursor on top of your screen recording: it comes in, travels to the spot, clicks with its ripple, the spot gets marked and what to do appears next to it, with the step number. Several steps, one per line, in percentages of the frame («30, 22 | Open Settings»; add width and height for a box). Three styles: ring, box and spotlight (darkens everything except the spot, and the hole travels from step to step).
Plus the typeface and an optional letter outline, in every template.
Export it without background and put it on a track above your clip: the animation plays over your video.
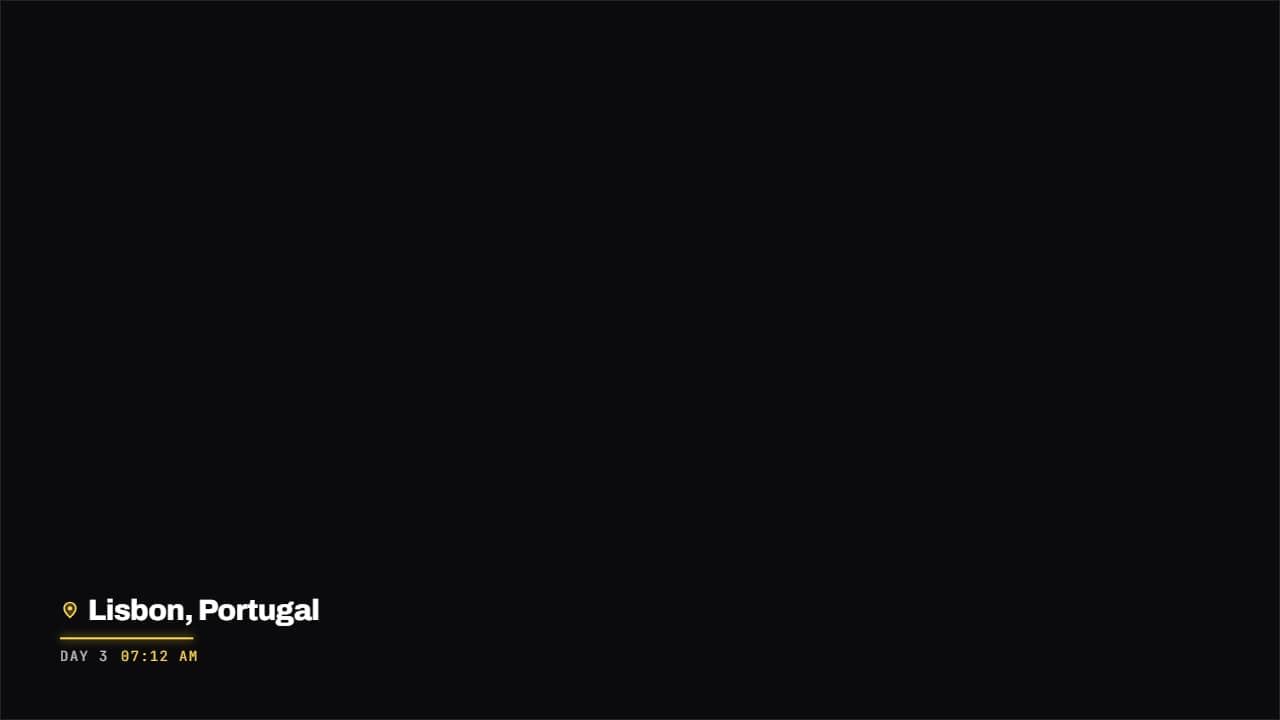 Place and date stampA map pin, the name of the place and the date underneath in monospace, with a colored rule drawing itself.
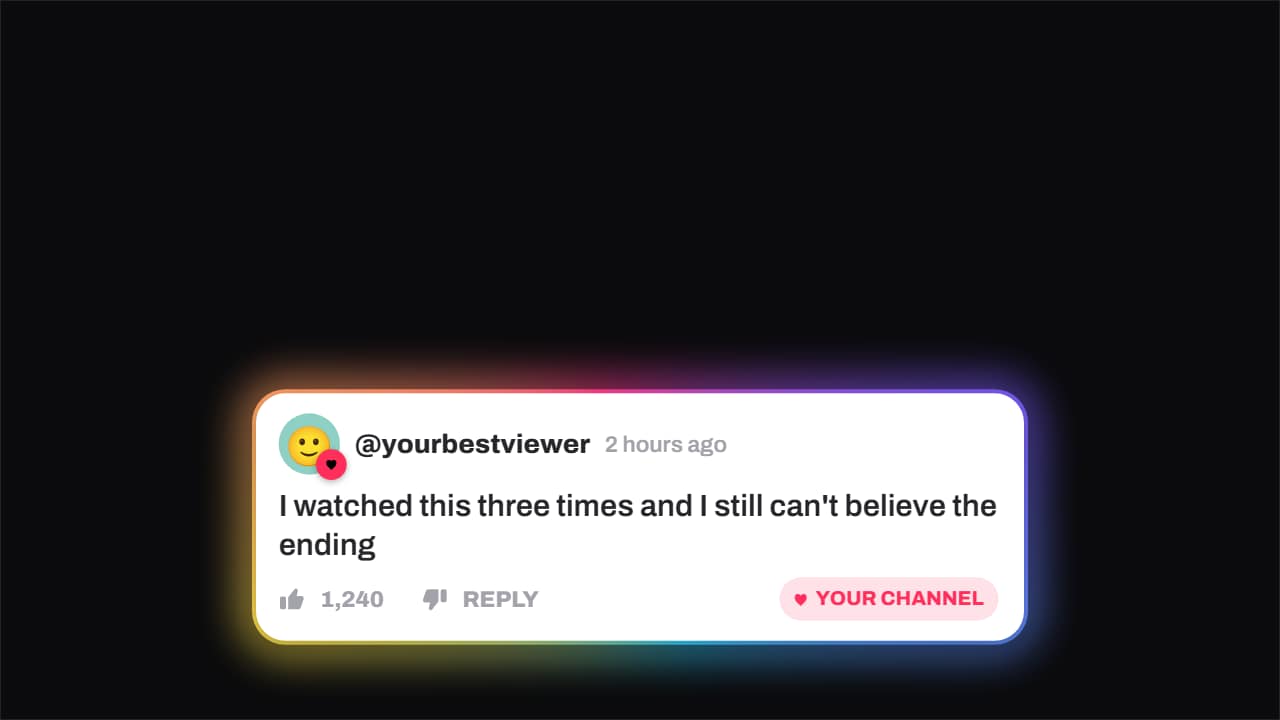 Comment · hearted by the channelA viewer's comment — avatar, timestamp, like count — and the moment the channel hearts it: the badge pops…
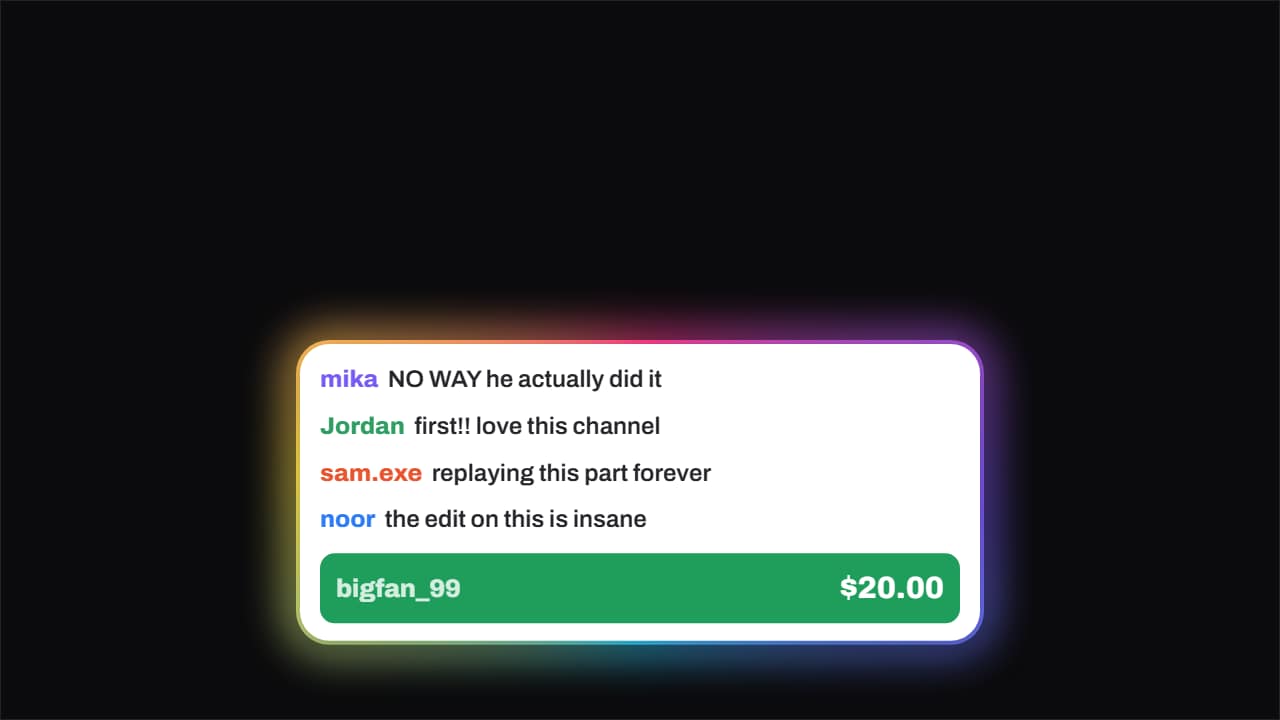 Live chat · with a donationChat messages slide in one after another from the left and, once there is a rhythm, the paid message drops…
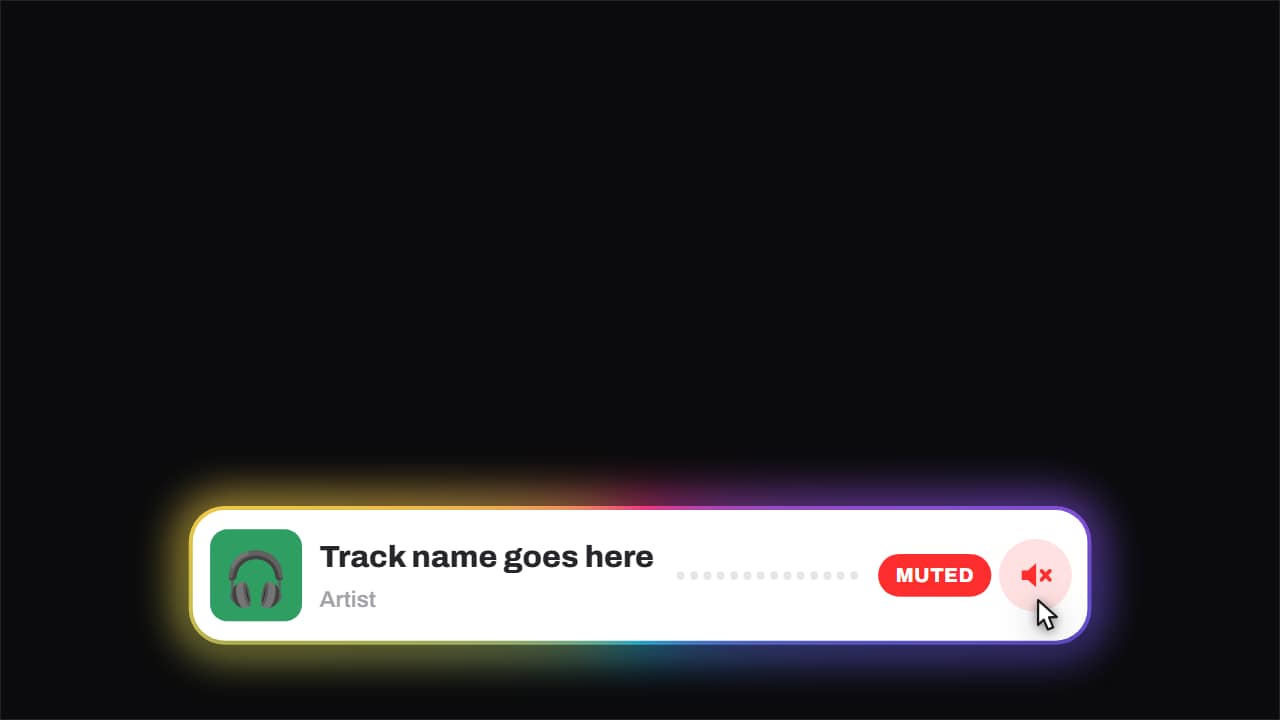 Now playing · and it gets mutedCover, track, artist and an equaliser that genuinely moves — three offset sines, so it looks like sound and…
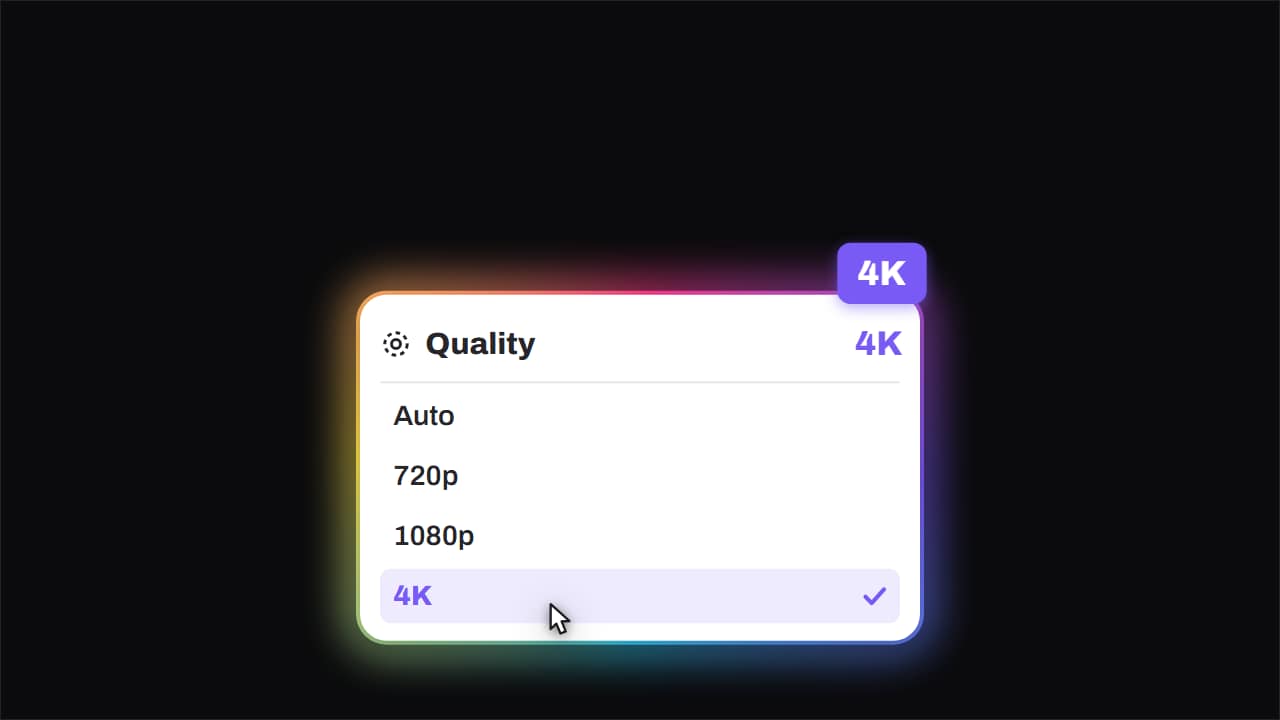 Quality · bumped to 4KThe quality menu opens, the cursor comes down, and the big badge lands rotated in the corner.
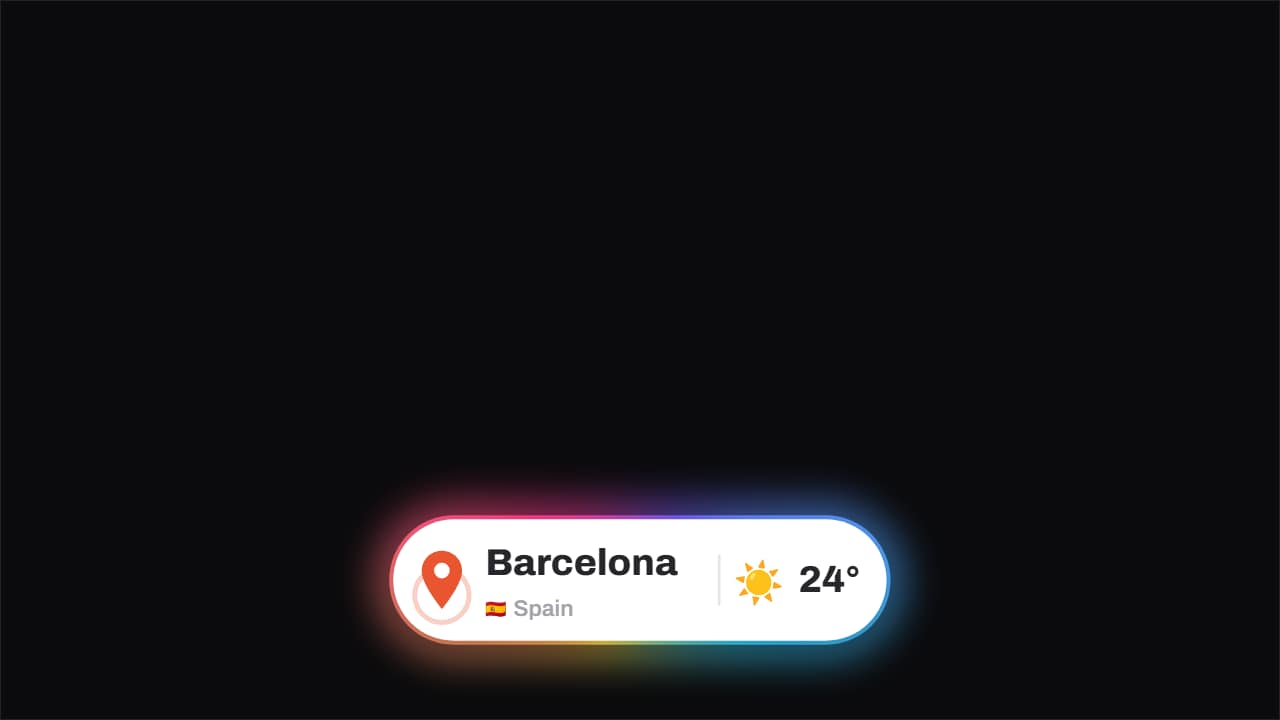 Location · the pin drops and pingsThe pin drops from above with its bounce and keeps ringing out, the place and country with its flag sit…
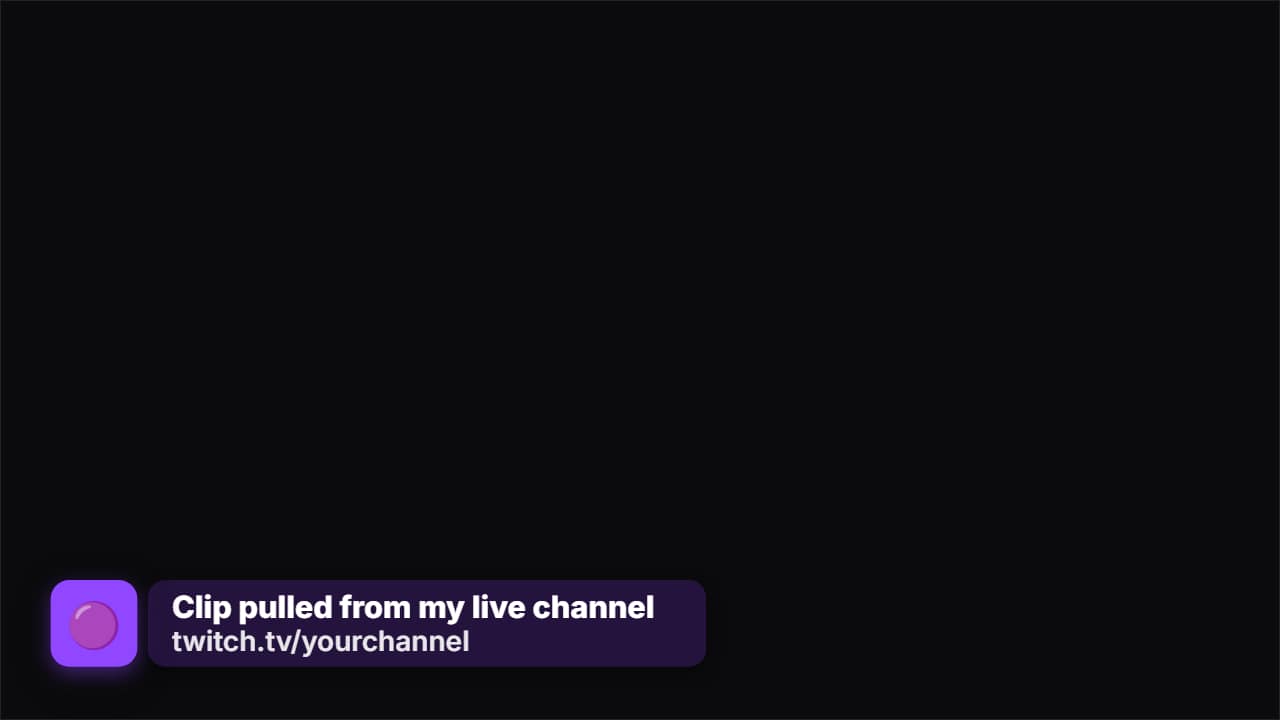 Source creditThe strap that says where the clip came from. First only the badge with the logo appears, it waits a beat…
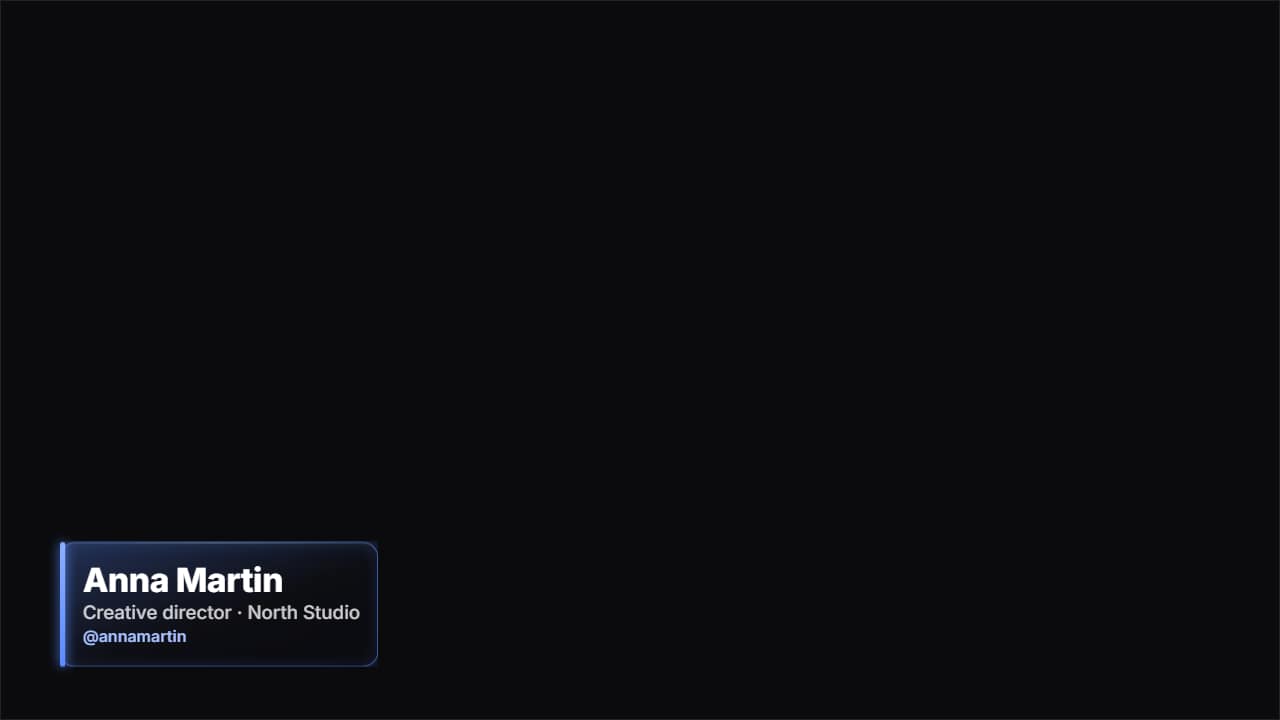 Glass name lower thirdThe «who's talking» strap in glass: name, role and your handle.