Format (important)1920×1080this is how it downloads
Preview doesn't change the file
You'll download 1920×1080, 3.5 s, with no background (.mov).
You'll download 1920×1080, 3.5 s, with no background (.mov).
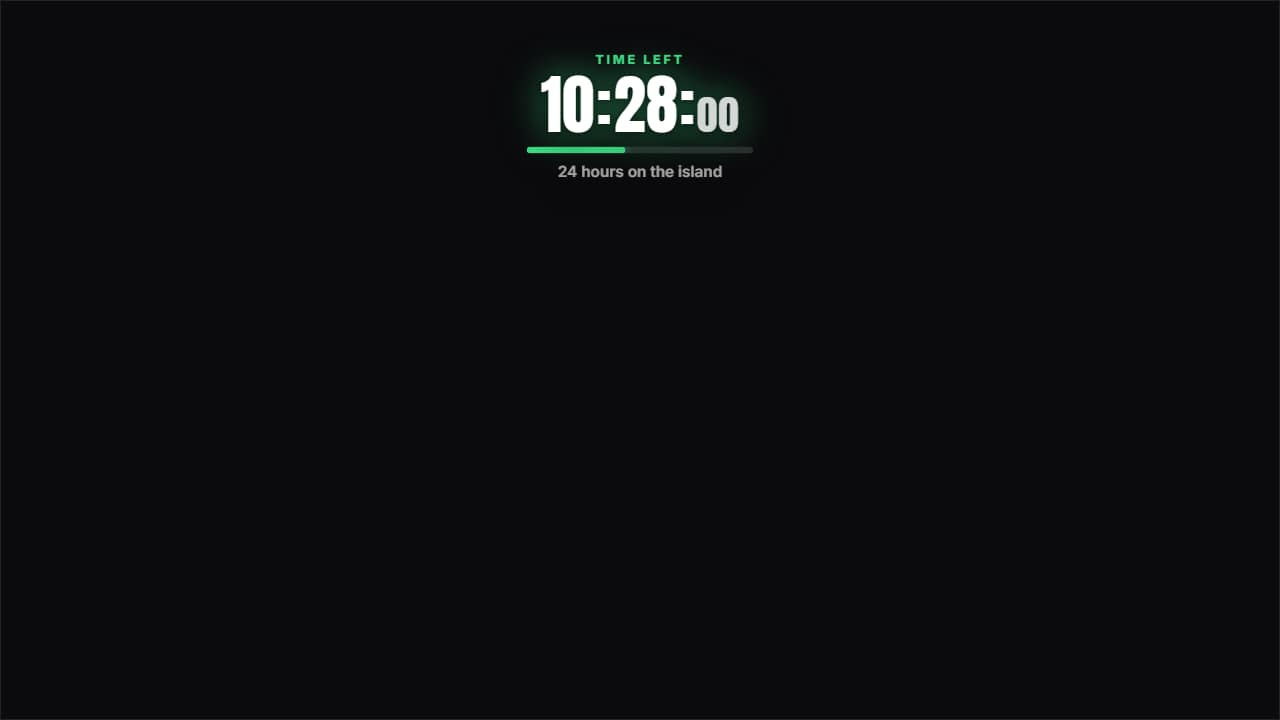
The clock running DOWN to zero, which is not the same as the challenge clock: one tells you what time it is, the other tells you how long is left, and only the second one builds tension. The seconds run at real speed even when the hours are compressed — a counter with a frozen last digit reads as a graphic; one that ticks reads as live. The color is driven by what's LEFT: calm, amber under a quarter, red under a tenth, where it also starts to pulse. At zero it stops dead and stamps the card instead of running negative.
Plus the typeface and an optional letter outline, in every template.
Export it without background and put it on a track above your clip: the animation plays over your video.
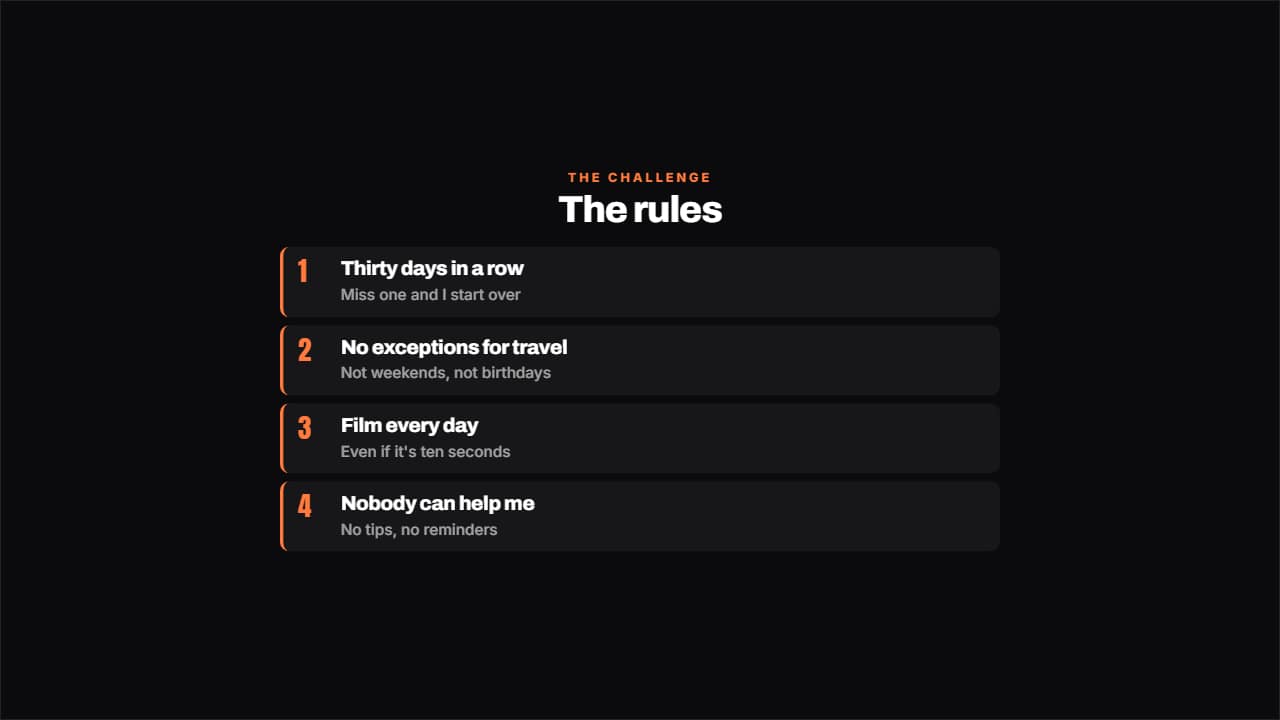 The rules of the challengeThe rules numbered, each with its small explanation underneath.
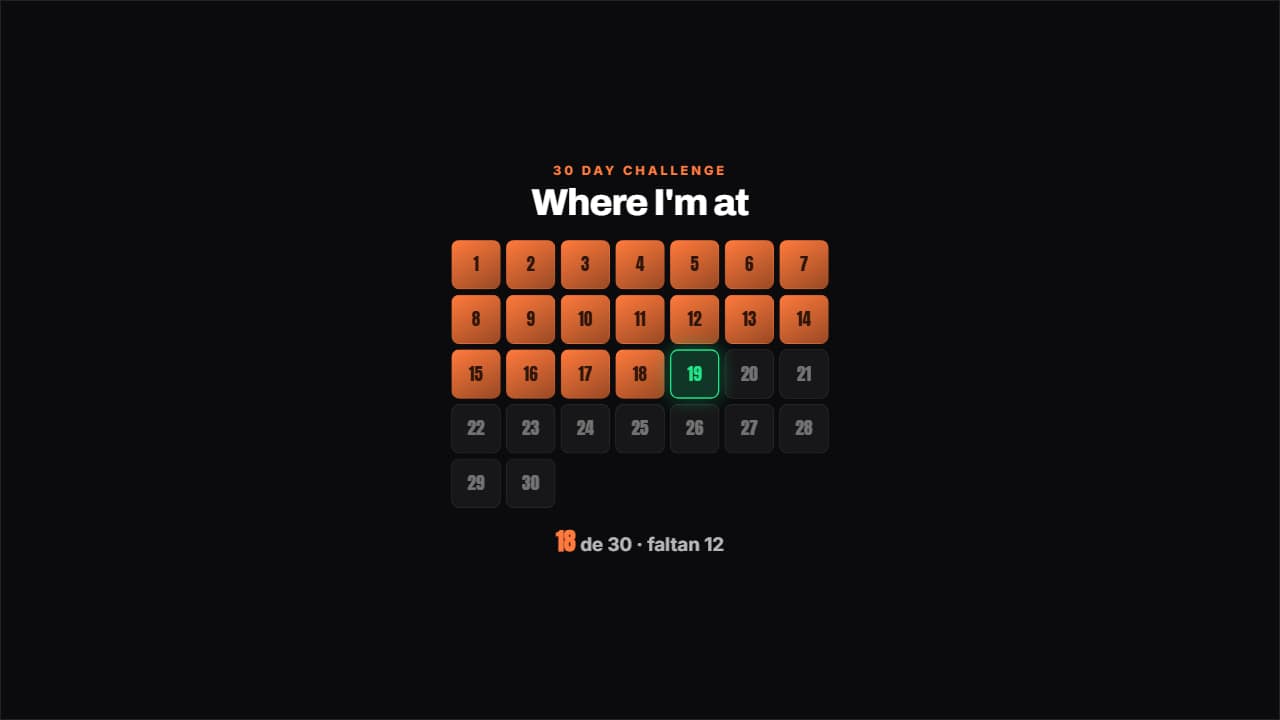 Challenge gridThe days of the challenge in a grid: the done ones filled, today pulsing with its outline and the ones left…
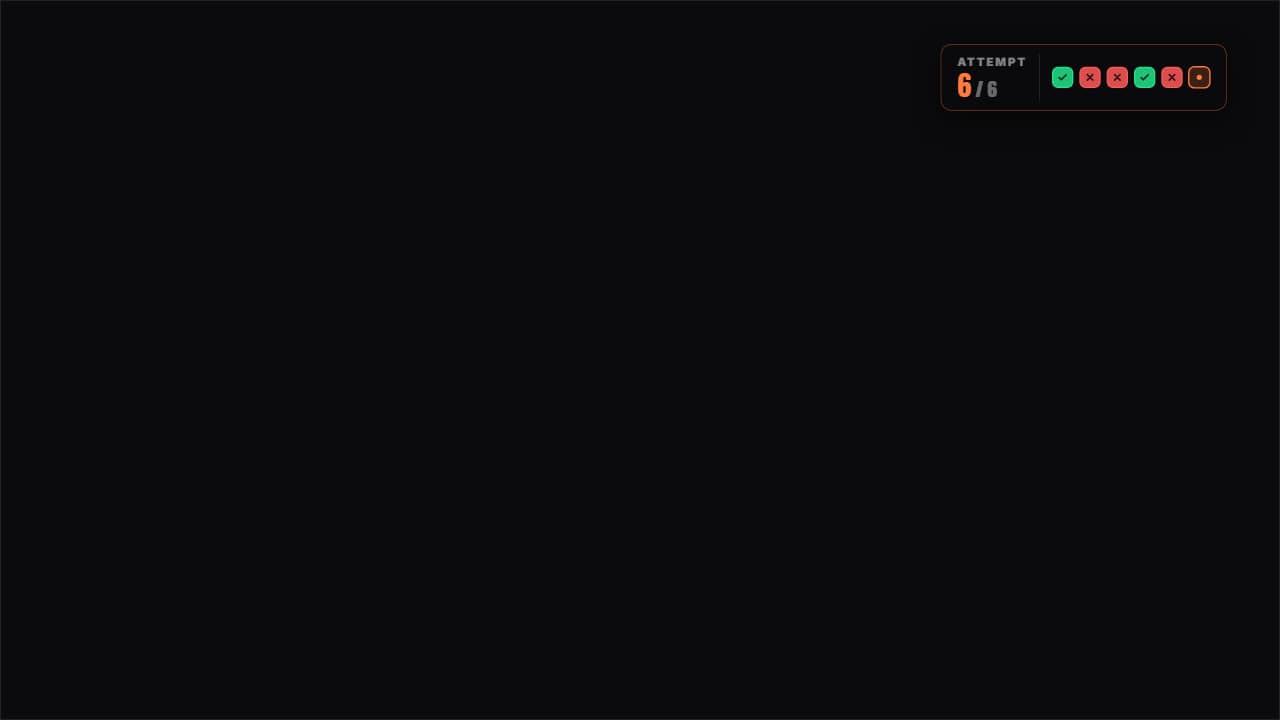 Attempts counterThe attempts as boxes: green for the one that worked, red for the one that failed and the current one pulsing.
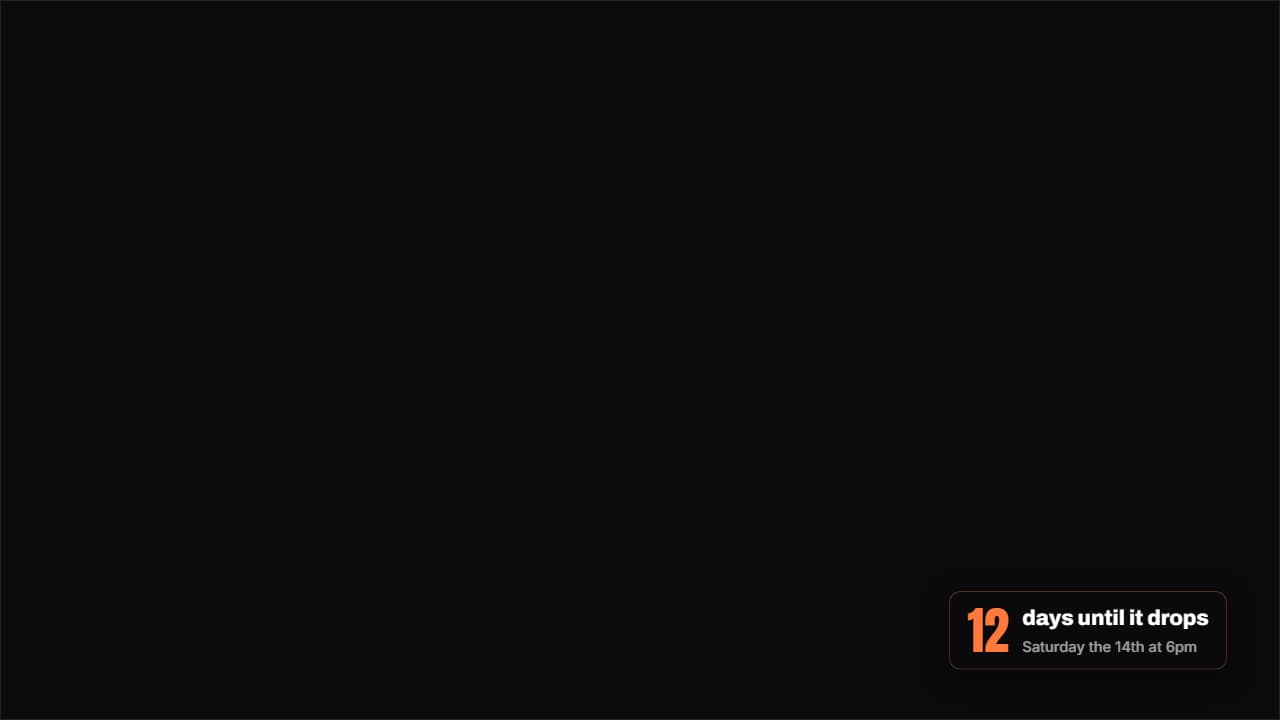 How much is leftA badge with the days (or hours) left until a date, with the number counting as it lands.
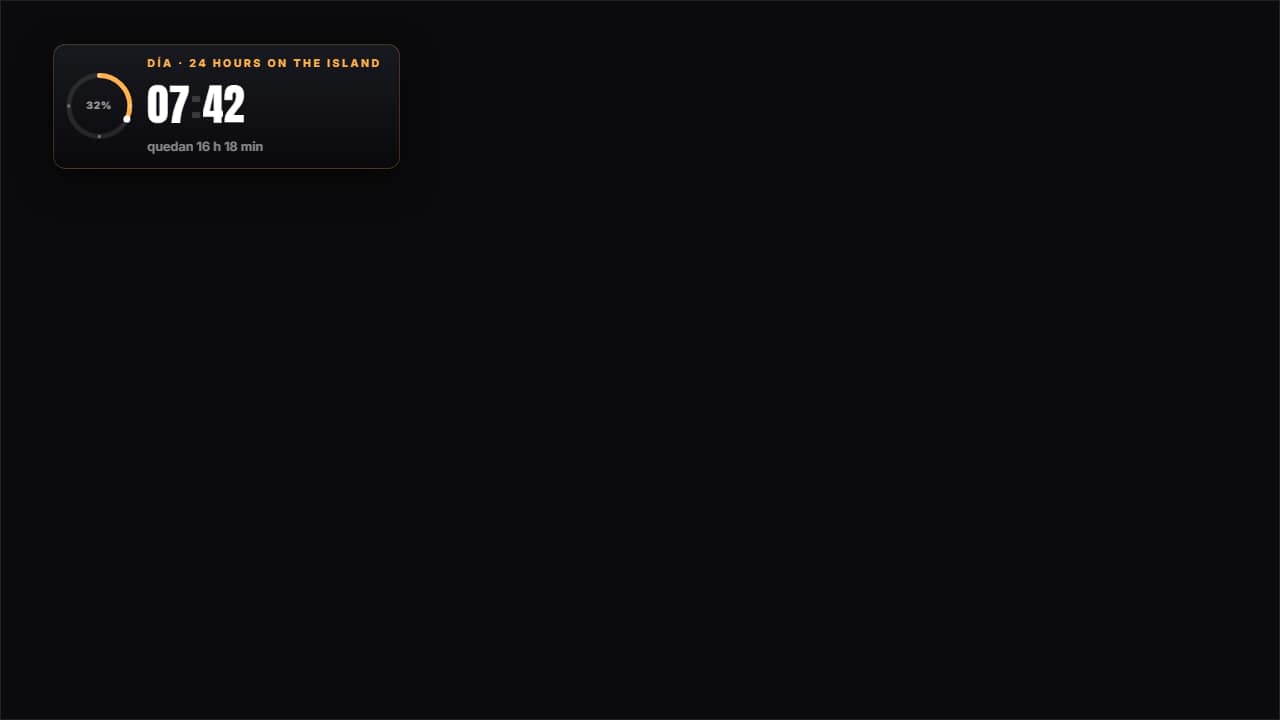 24-hour challenge clockThe CHALLENGE clock, not the video's: fifteen minutes of edit cover twenty-four hours, so you either set the…
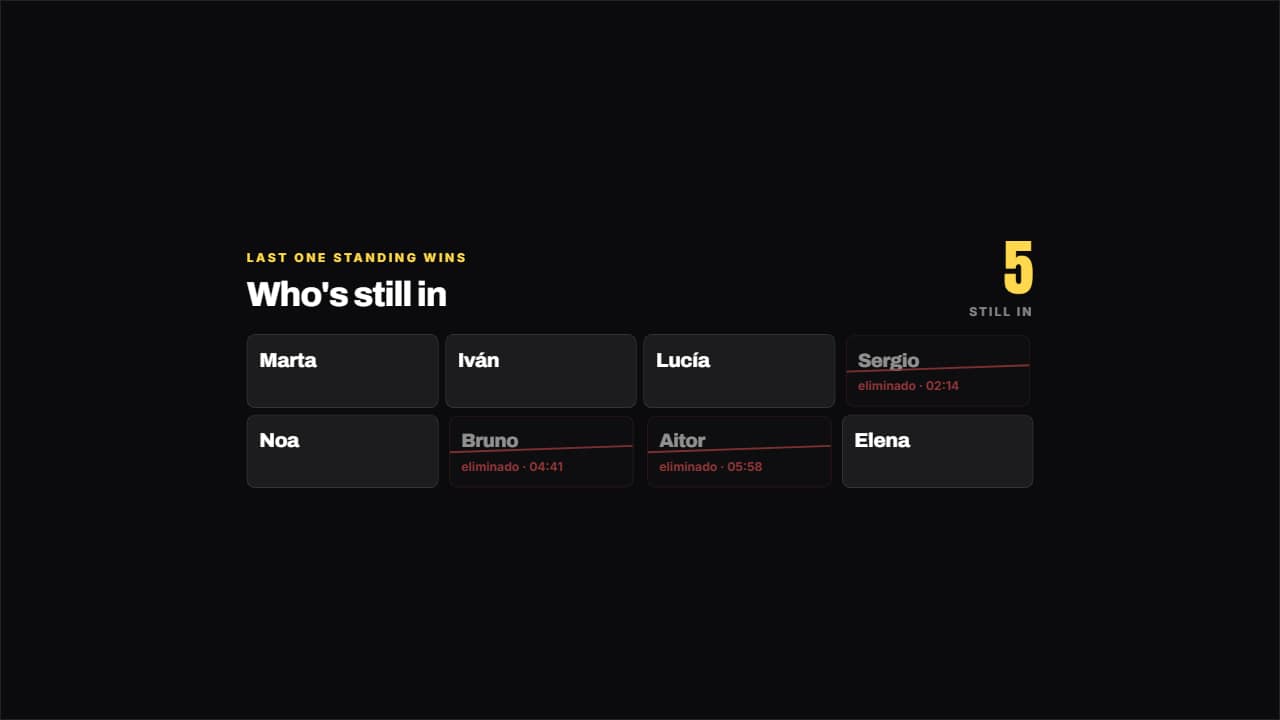 Elimination panelWhat holds up "last one standing wins" isn't who wins: it's how many are left.
 Found it!The moment the thing you were looking for shows up: the item pops onto the screen, the title stamps in and…
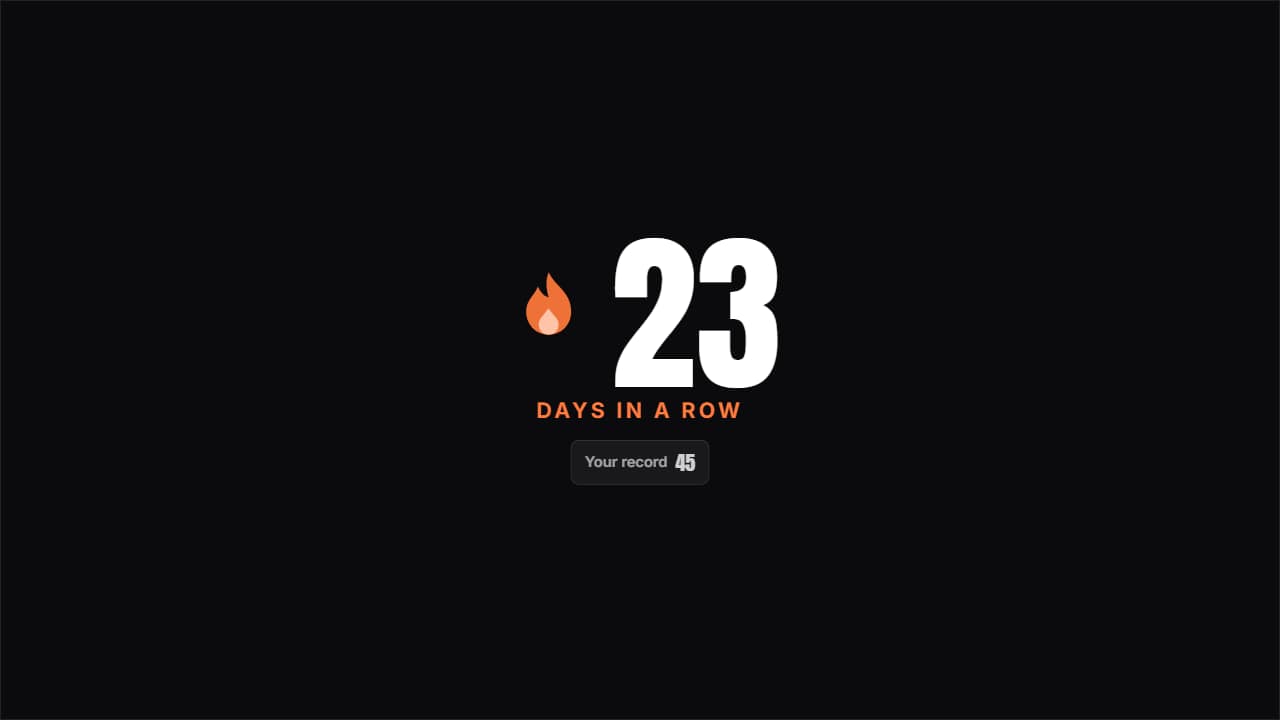 Day streakThe huge number with the flame pulsing beside it and the previous record underneath; beat it and it turns…