Format (important)1920×1080this is how it downloads
Preview doesn't change the file
You'll download 1920×1080, 3.5 s, with no background (.mov).
You'll download 1920×1080, 3.5 s, with no background (.mov).
The card that opens each video in a course or tutorial series: the course and module, «Lesson 3 of 12» with the number rolling up from the previous one, the lesson title, how long it takes and the course bar moving up to today's lesson, with the finished ones checked. Three styles: a white course-platform card with one segment per lesson, glass with a big progress ring, and a notebook page with handwriting and a box per lesson that gets ticked.
Plus the typeface and an optional letter outline, in every template.
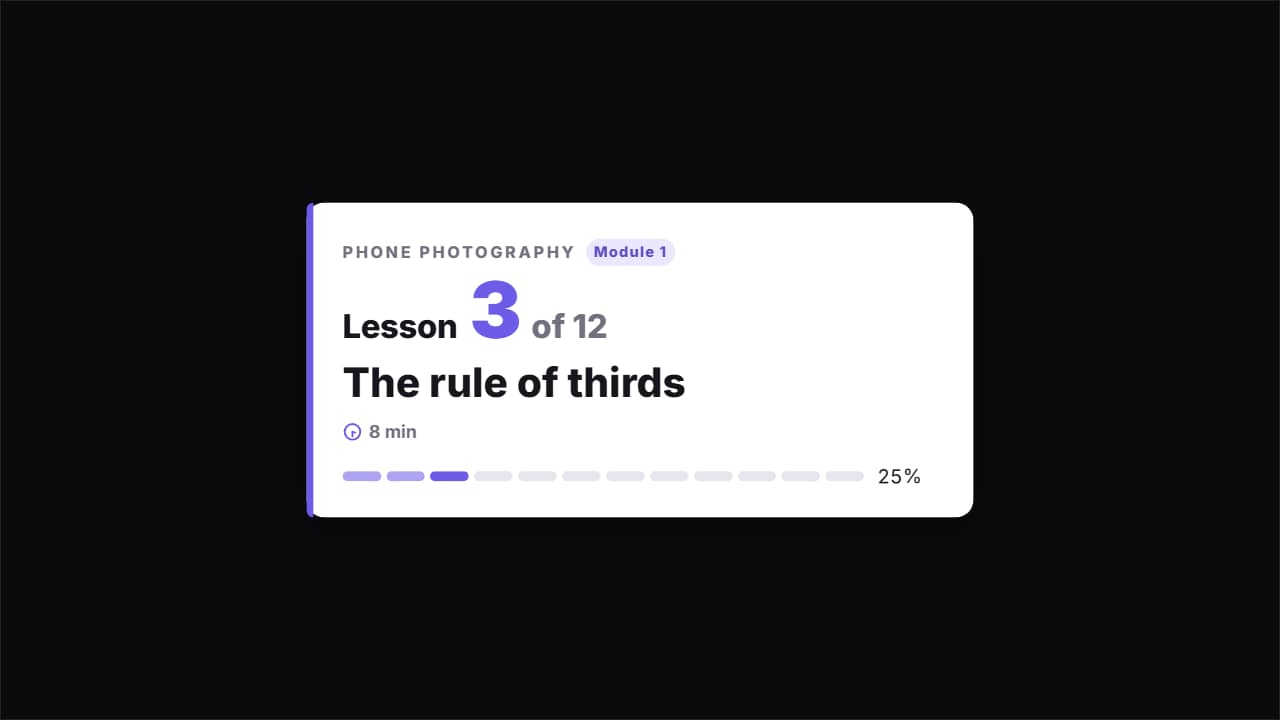
Export it without background and put it on a track above your clip: the animation plays over your video.
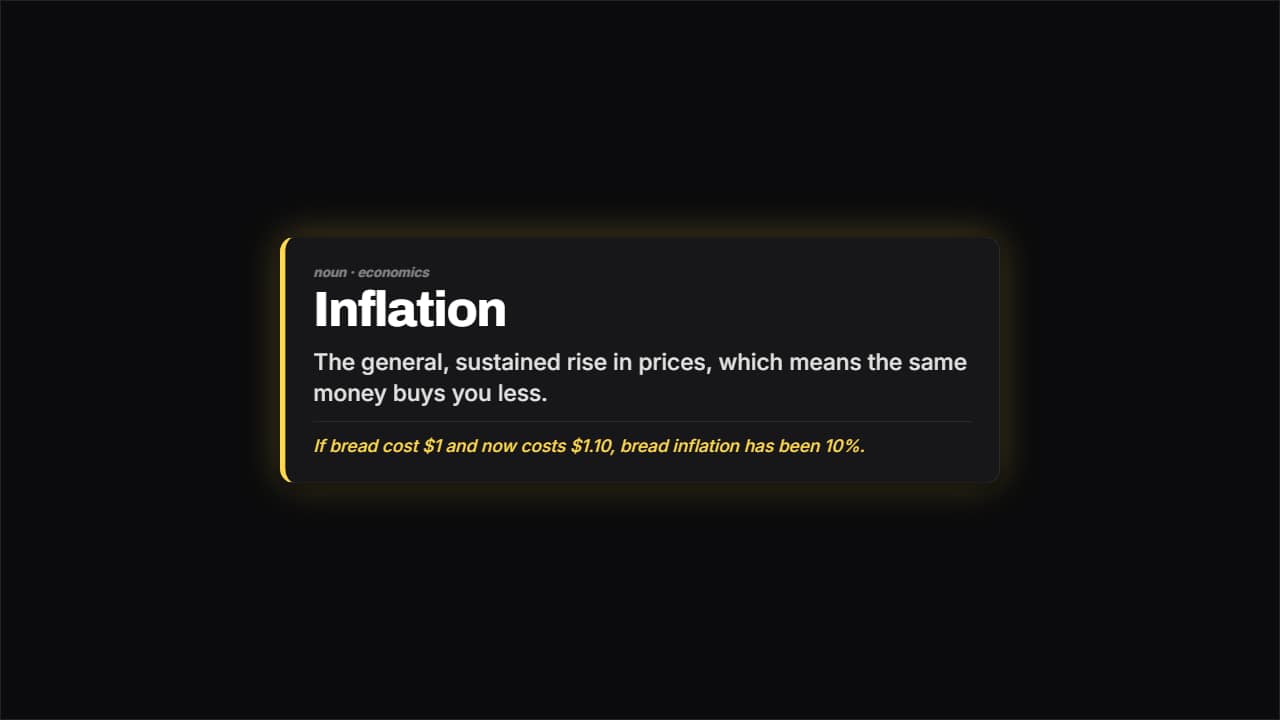 Definition cardThe word large, the meaning underneath and an example separated by a rule.
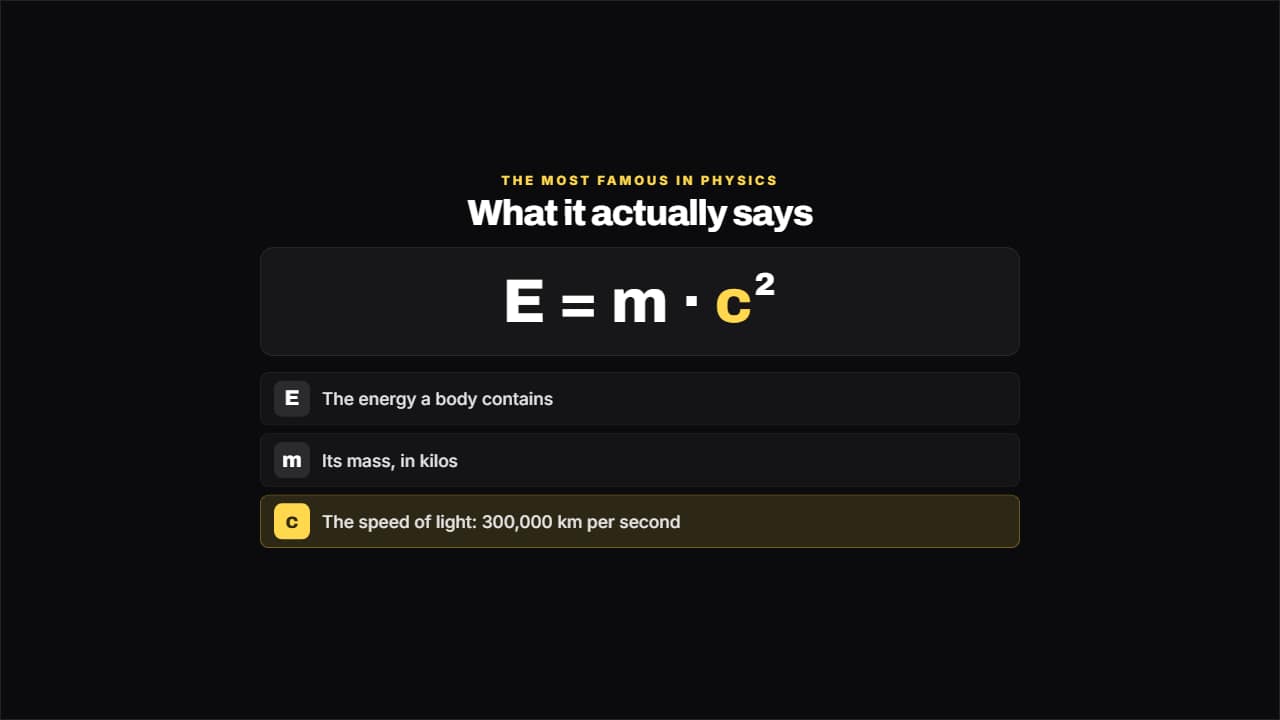 Formula explainedThe formula large and, underneath, what each term means.
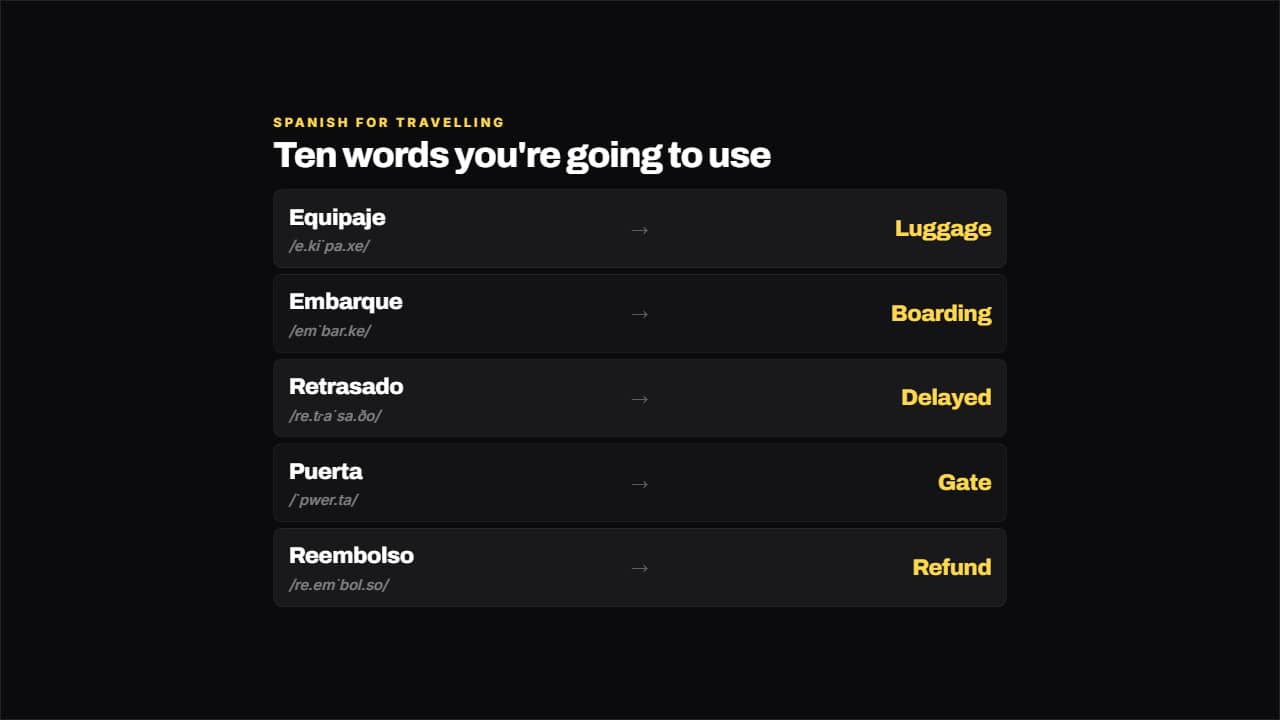 Language vocabularyWord on the left, translation on the right and the pronunciation small underneath.
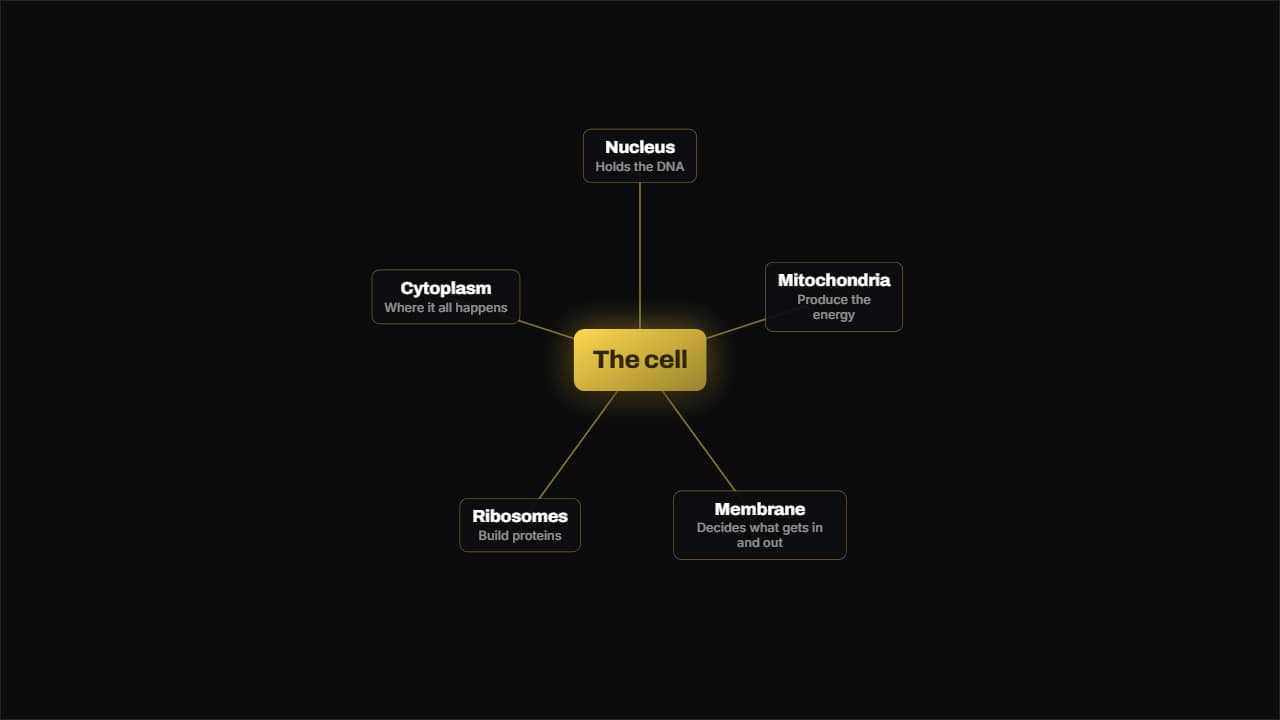 Mind mapOne idea in the middle and its branches spread around it; the lines draw outwards from the center instead of…
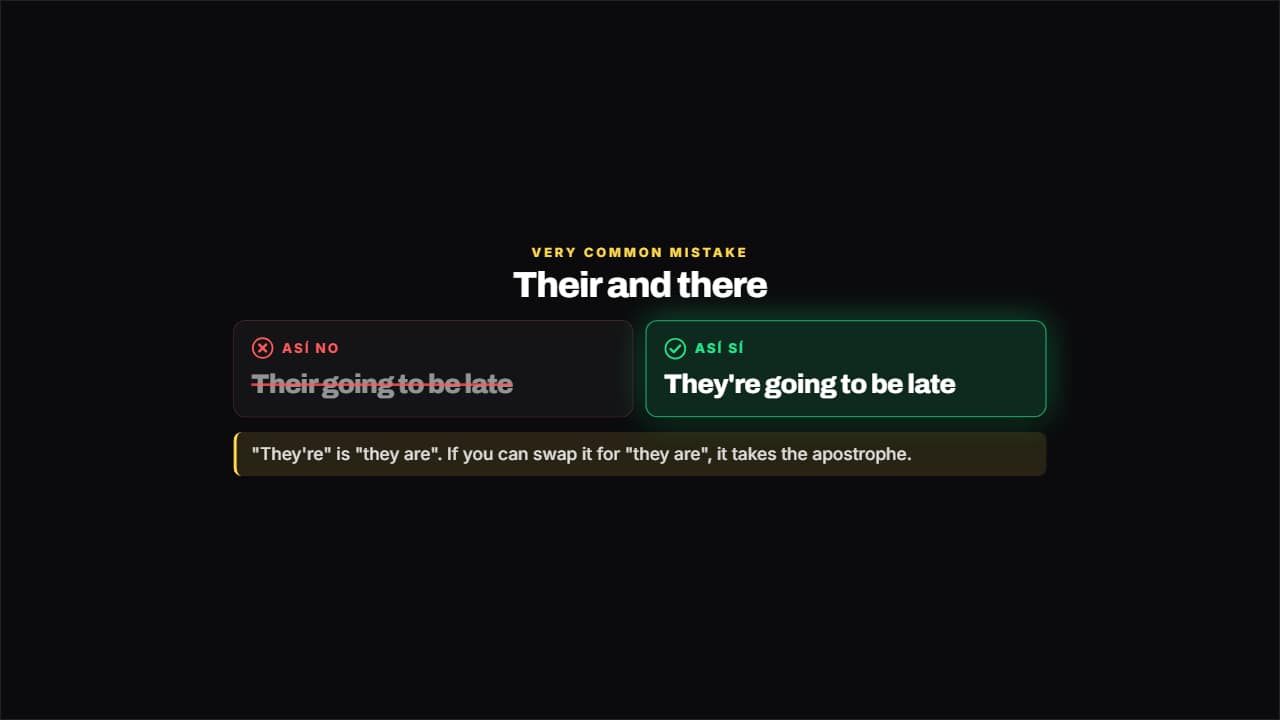 Not like this, like thisThe mistake crossed out and gray on the left, the right way lit on the right and the why underneath.
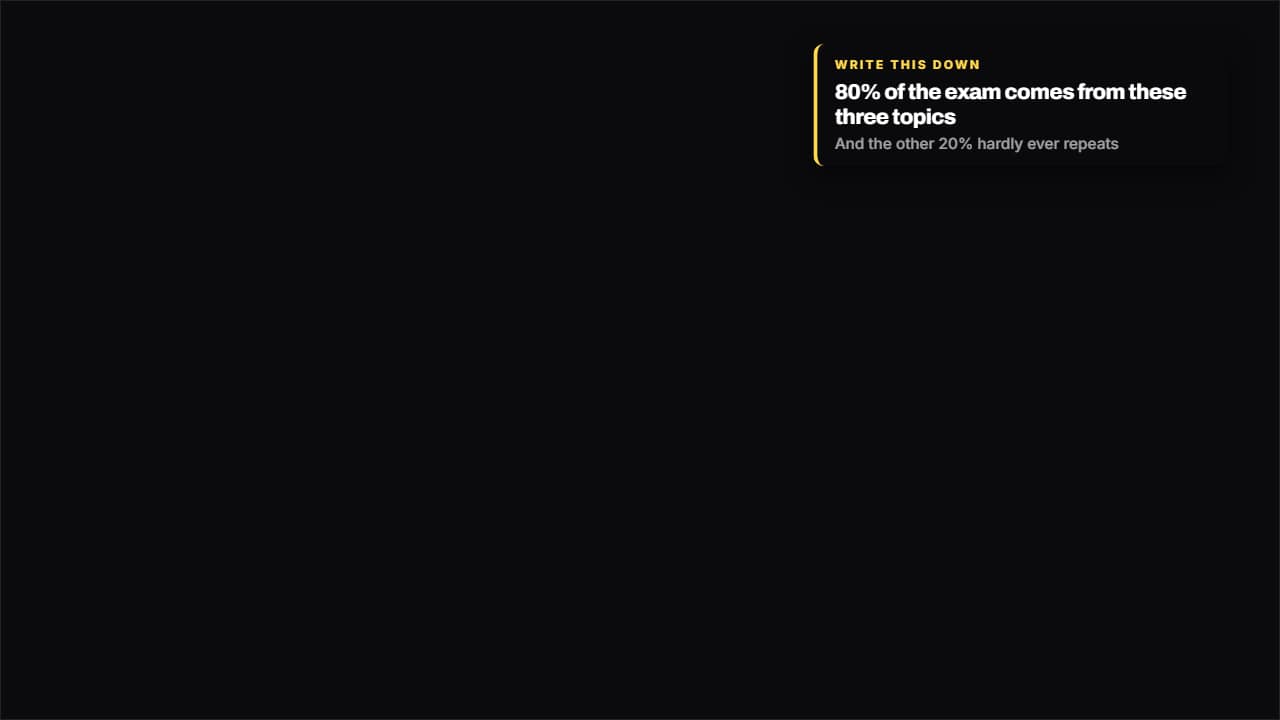 Write this downA side badge for the fact worth keeping: it slides in from the edge, reads, and leaves.
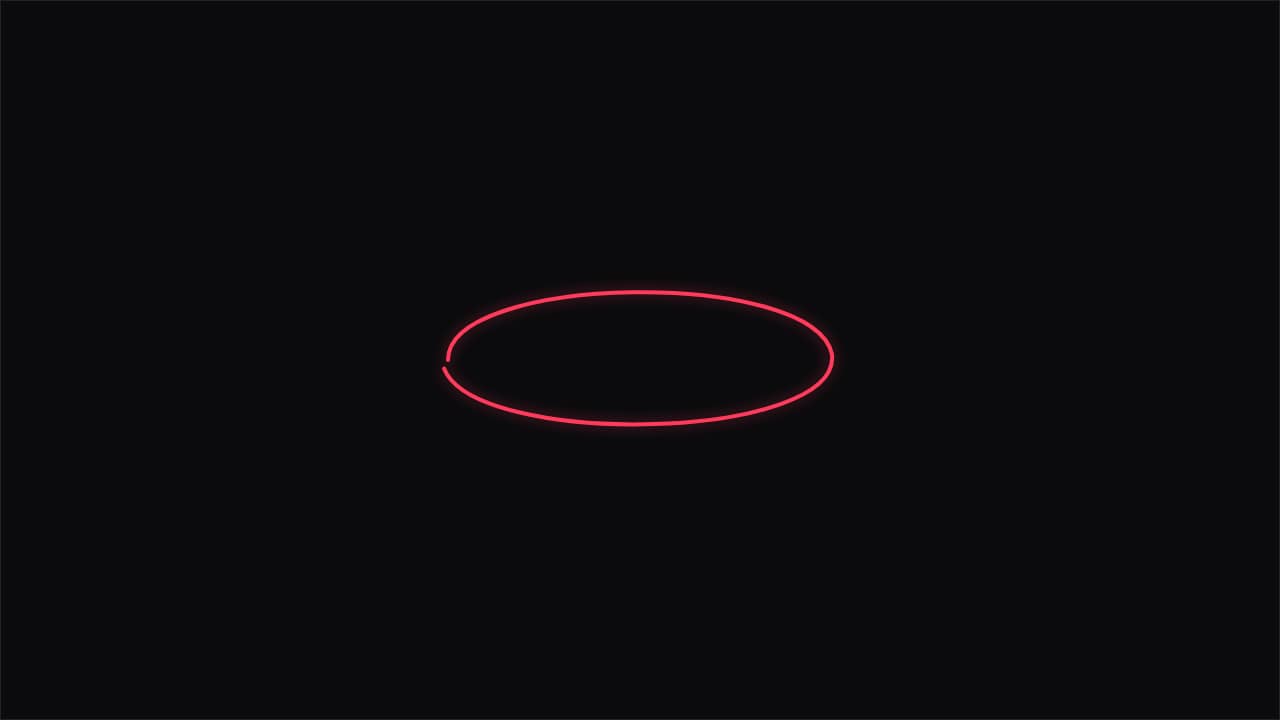 Hand-drawn markupThe teacher's marker over your video: circle, underline, point with an arrow, box or cross out.
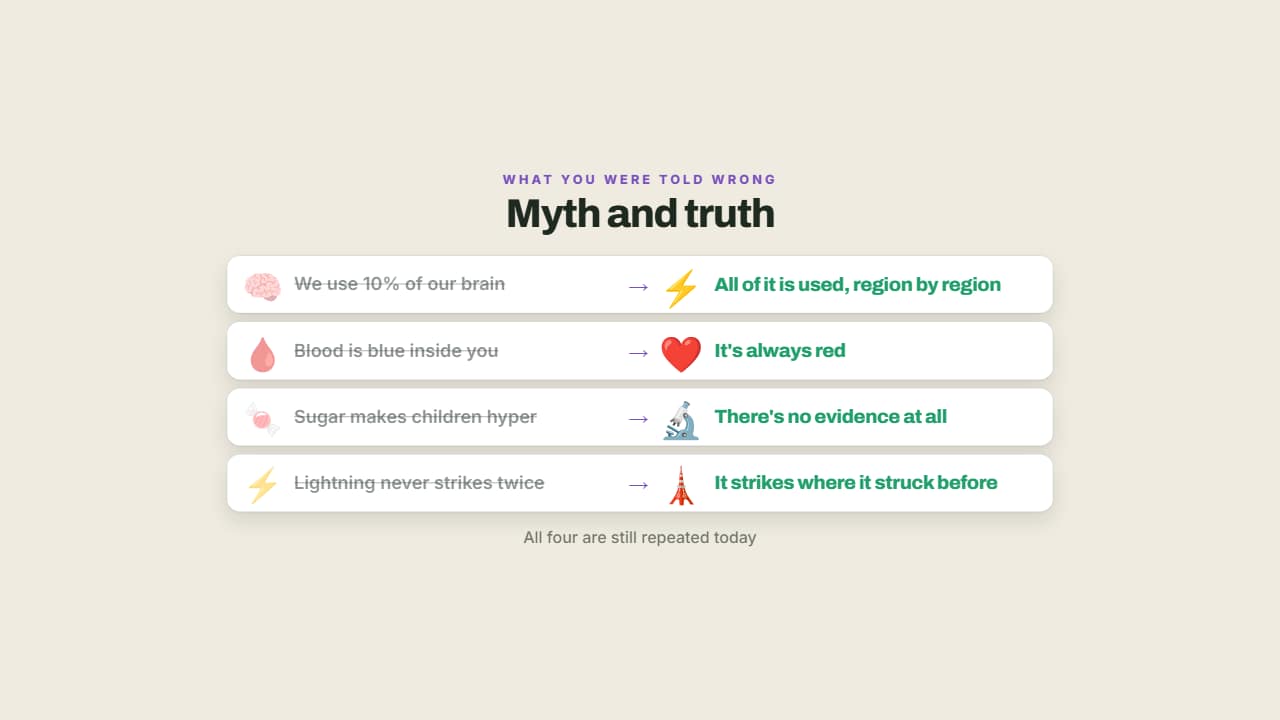 Myth and truthThe myth crossed out on the left and what actually happens lit up on the right.